Backpacking Four Pass Loop in the Maroon Bells-Snowmass Wilderness
This post may contain affiliate links. Read my full disclosure here.
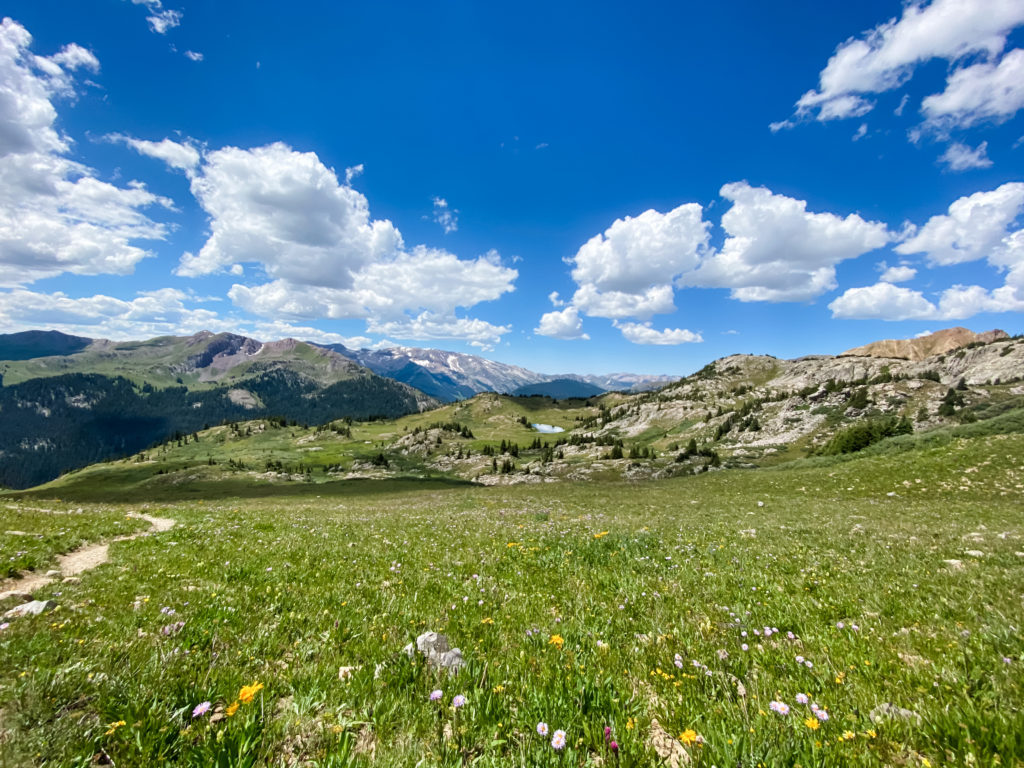
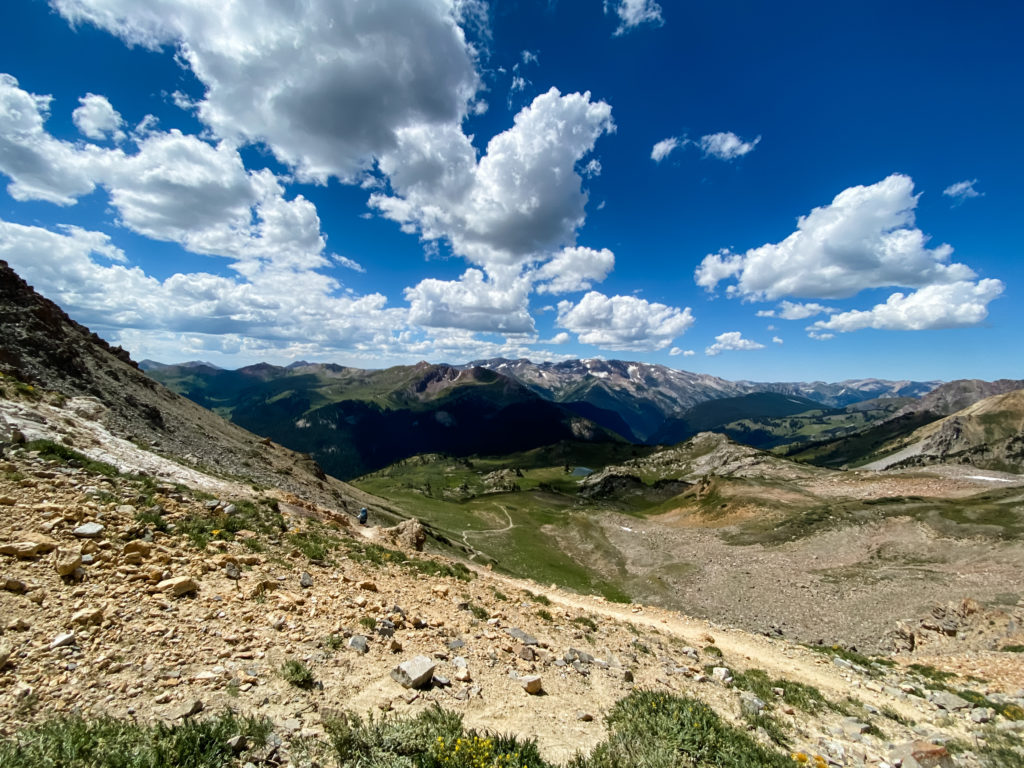
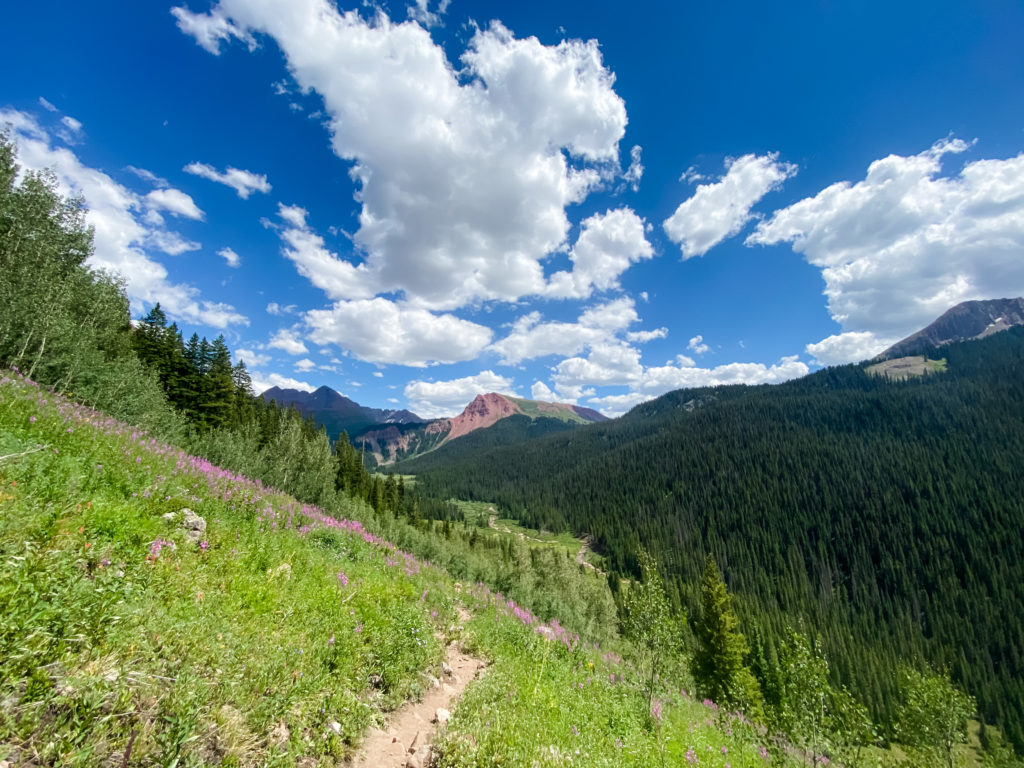
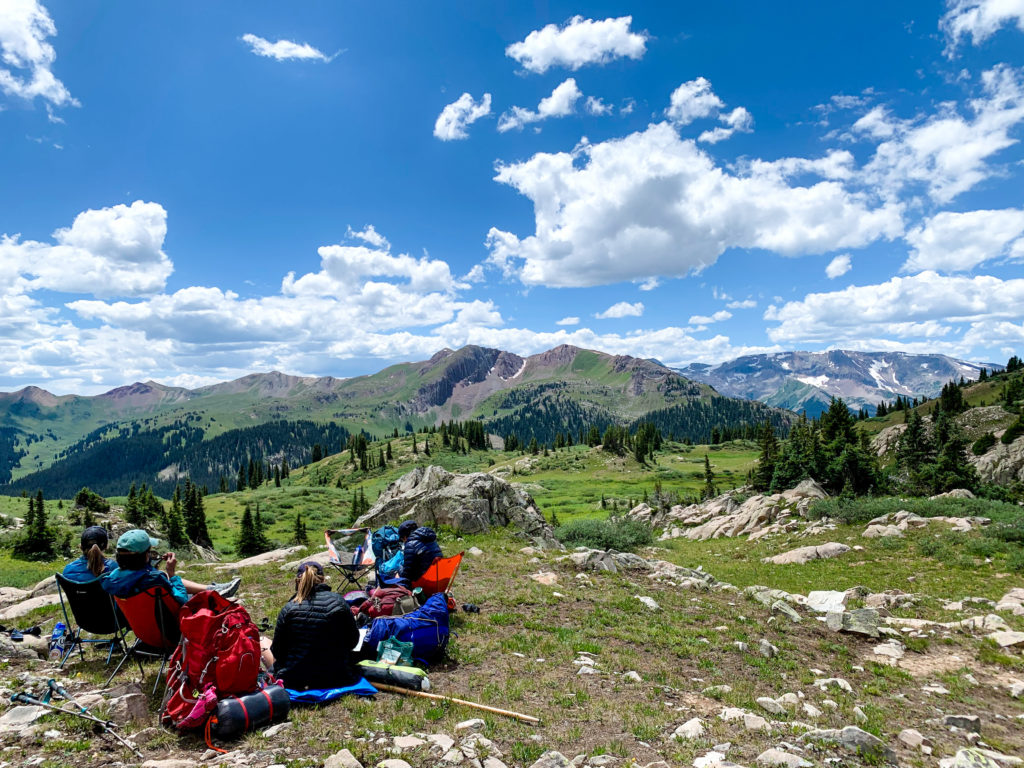
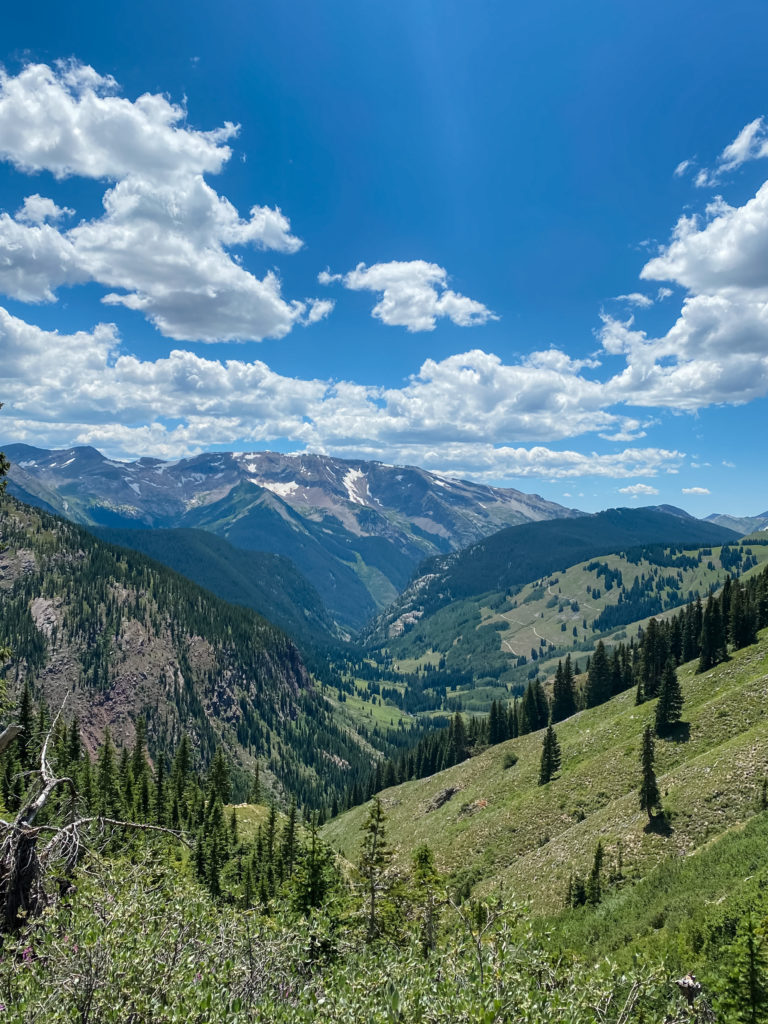
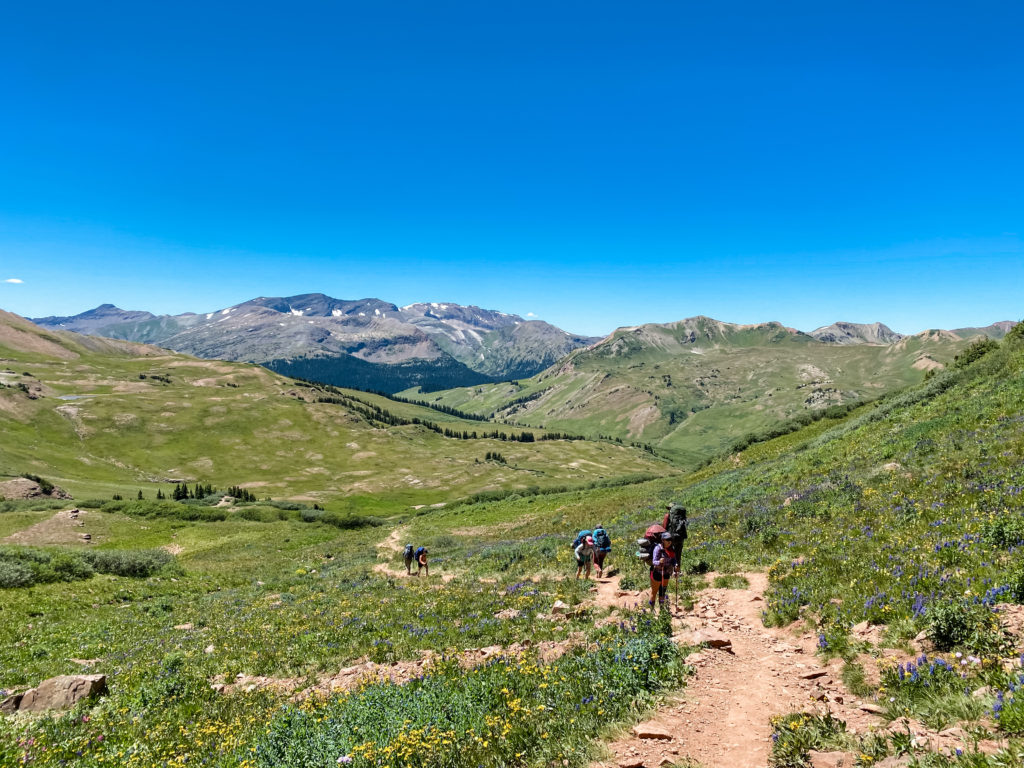
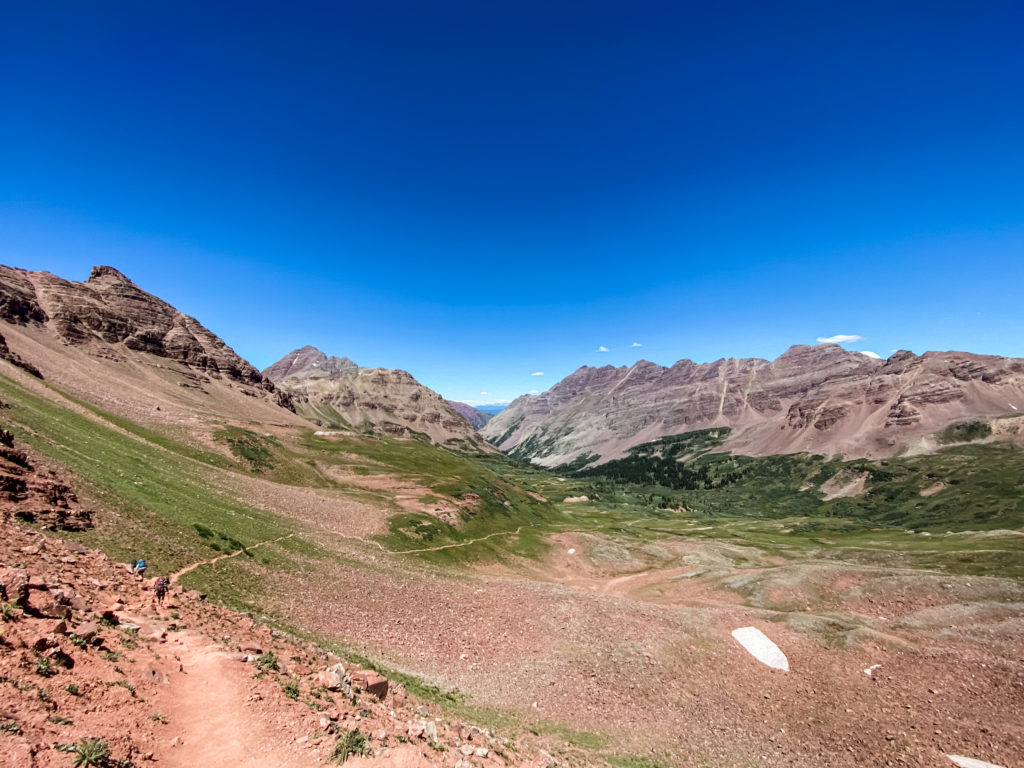
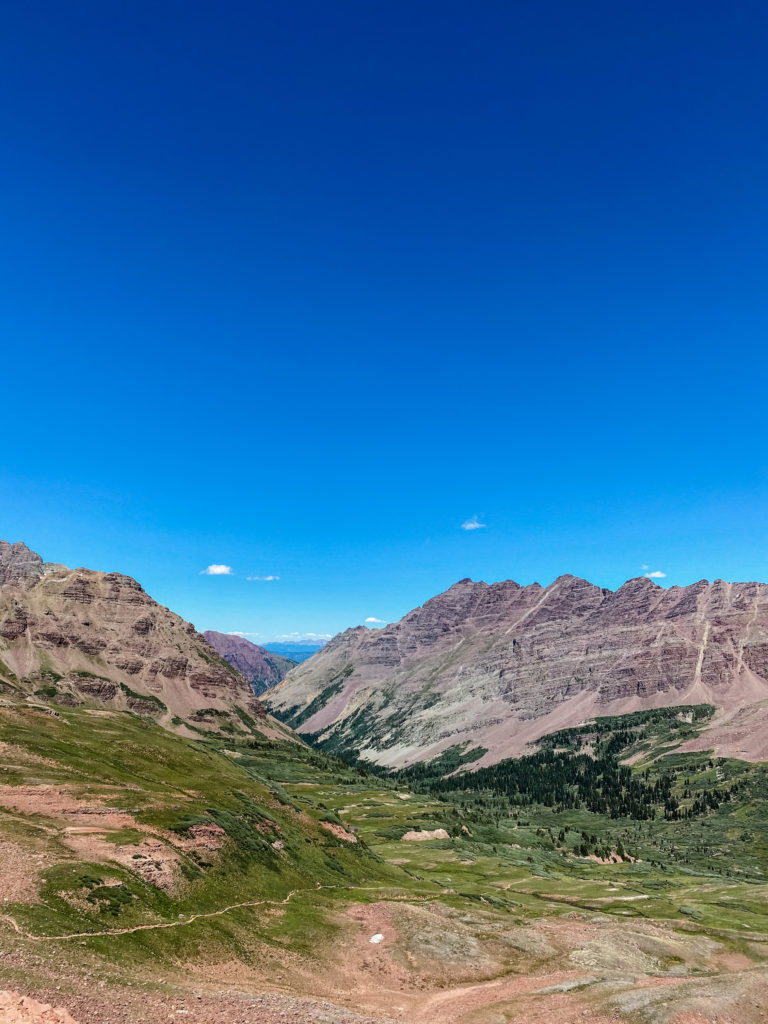
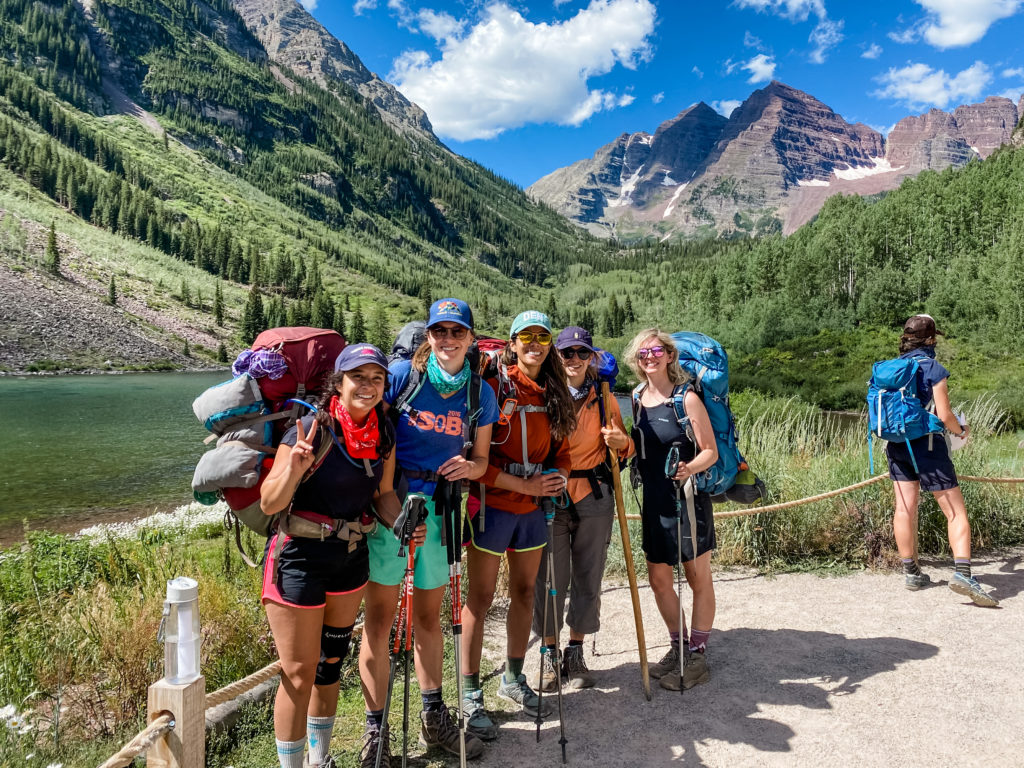
I’d been itching for a Colorado backpacking trip and thankfully a few other girlfriends had been too! After some deliberation, we decided on the well-known, Colorado classic — Four Pass Loop located in the Maroon Bells-Snowmass Wilderness. It was magical. I’ve never seen such a beautiful display of wildflowers with the most delightful scents, unbelievable 360 degree views after climbing over 4 – 12,000 ft passes, and gorgeous blue, sunny skies the whole trip.
We started from the Maroon Lake Trailhead in Aspen, Colorado which is just under a 4 hour drive from Denver. Since we wanted to start the hike early, we decided to drive out to Aspen the day before and camp to avoid an even earlier wake up call! I’m excited to share some tips to help you get this on your list of hikes to trek!
There are three different trailheads you can access the loop:
Maroon Lake – Aspen
Snowmass
East Fork – Crested Butte
You can go clockwise (CW) or counterclockwise (CCW). It seems like CW is more common, but we chose to go CCW to knock out the hardest part (Buckskin Pass) first.
Bear canisters are required. We used bear vaults.
As of August 2020, you don’t need a permit to complete the loop. There’s a register near the trailhead where you fill out information about you and your group. However, there seems to be chatter about a permitting system happening soon. Do you research and know before you go.
POOP RESPONSIBLY!!! Don’t want to pack out your poop in a wag bag? Then be sure you’re digging a hole 6-8 inches deep, covering it up, and packing out your toilet paper. This trail is very heavily trafficked. Please take care of it so that we’re able to enjoy it in the future.
There is access to water all along the trail. Don’t worry about keeping your water bladder full in an effort to lighten your load, but definitely bring a filter!
Have a plan for which campsites you’re going to stay at. They ask you to fill that information out on the register. Find out the campsite location, conditions, permit info and more on the Forest Service website.
If you’re susceptible to altitude sickness, pack dramamine.
Join this Facebook group: Four Pass Loop. You’ll find several accounts of people’s experiences at any time of the year going both CW and CCW and starting from the different trailheads. There’s a 95% chance someone’s already asked a question you’re wondering about, so use the “Search” option within the group to find a wide array of answers.
Gear Recommendations
Other than the standard moisture-wicking clothing items and travel-sized toiletries, here are 4 must-haves I’d strongly recommend bringing along:
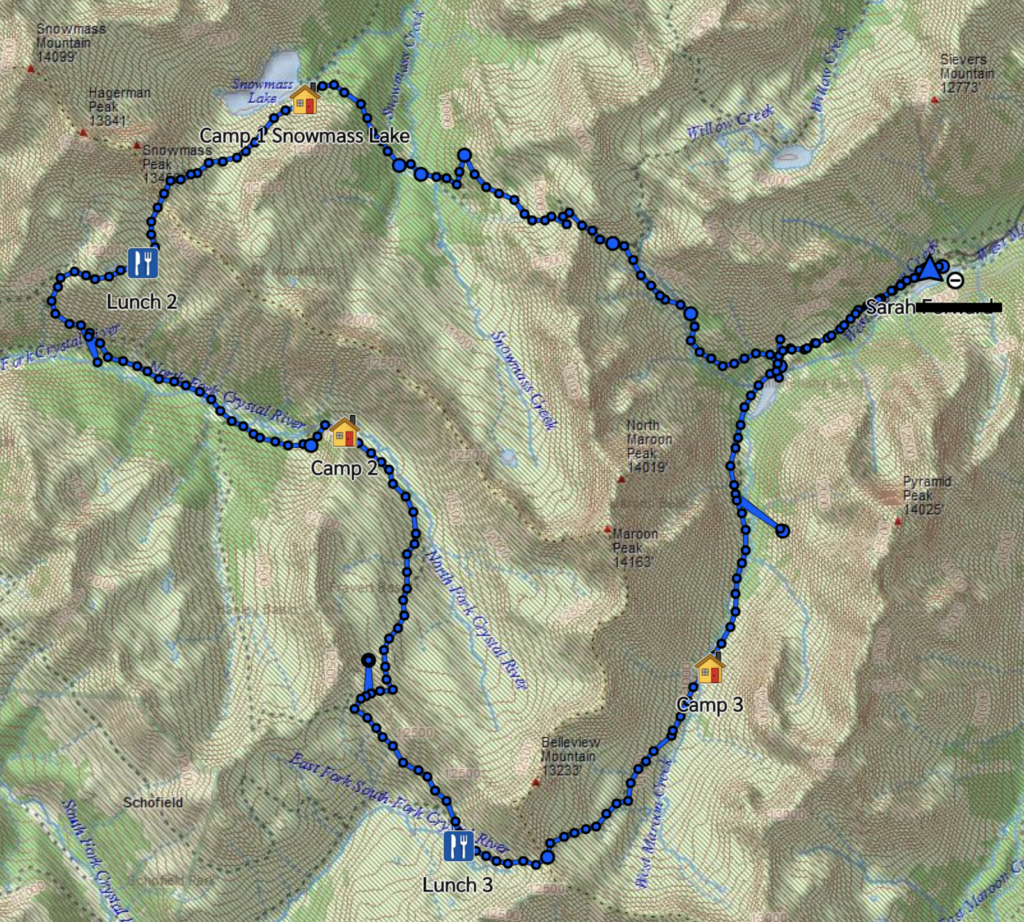
It was really important to me to be able to get help in an emergency. There’s zero cell phone service on the trail. The inReach uses satellite messaging to communicate via email or text. Garmin offers flexible plans you can pause when you don’t need it and reactivate it once you do! I was also able to share real-time location updates by simply turning on the “tracking” option once when we started and turned it off once we found camp. The first image in the photos is actually a screenshot of the map friends and family saw who had access to my private link! Check out this REI blog post on how to choose which device for your emergency beacon.
Scooped this just for the trip and I’m so glad I did! In an effort to keep my pack weight down, I only kept about 1 liter in my pack bladder for reserves and used the Lifestraw for most of my daytime drinking. It was perfect and so easy to use. All the reviews about water spillage from the top is true, so be sure your bottle stays up right.
After reading several posts about how bad the bodily waste problems have become along the trail, I decided to pack out my poop. The kit includes:
Two bags: one for your poo with an odor neutralizing powder and another zip-close puncture resistant storage bag the other
Toilet paper
Hand sanitzer
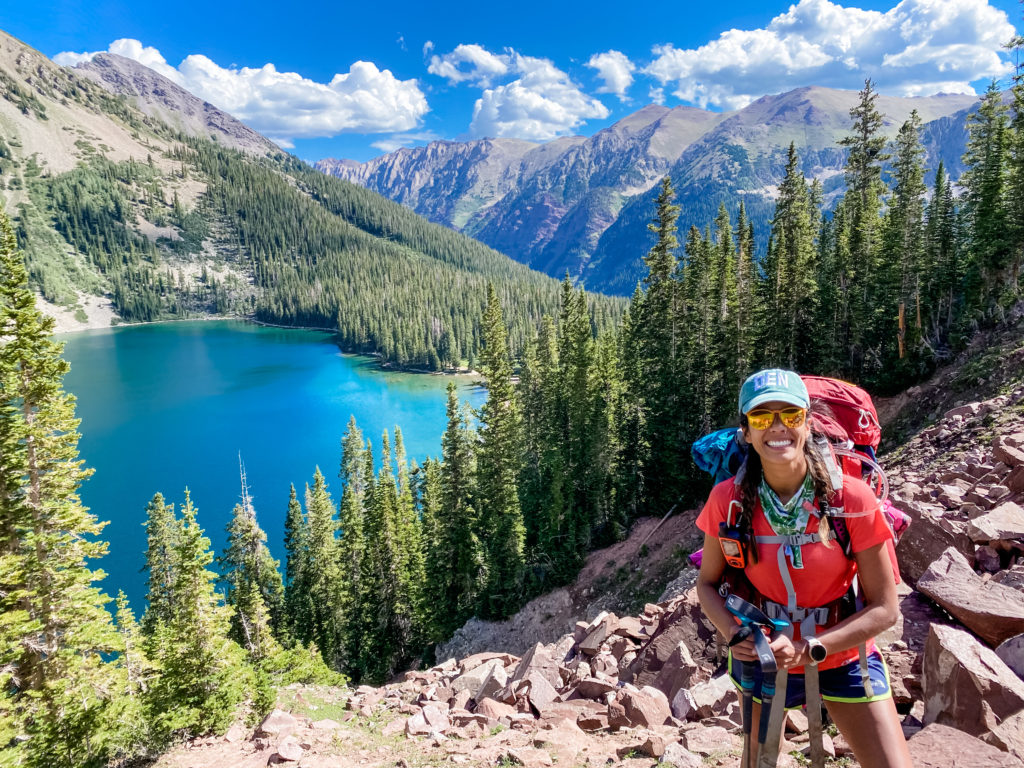
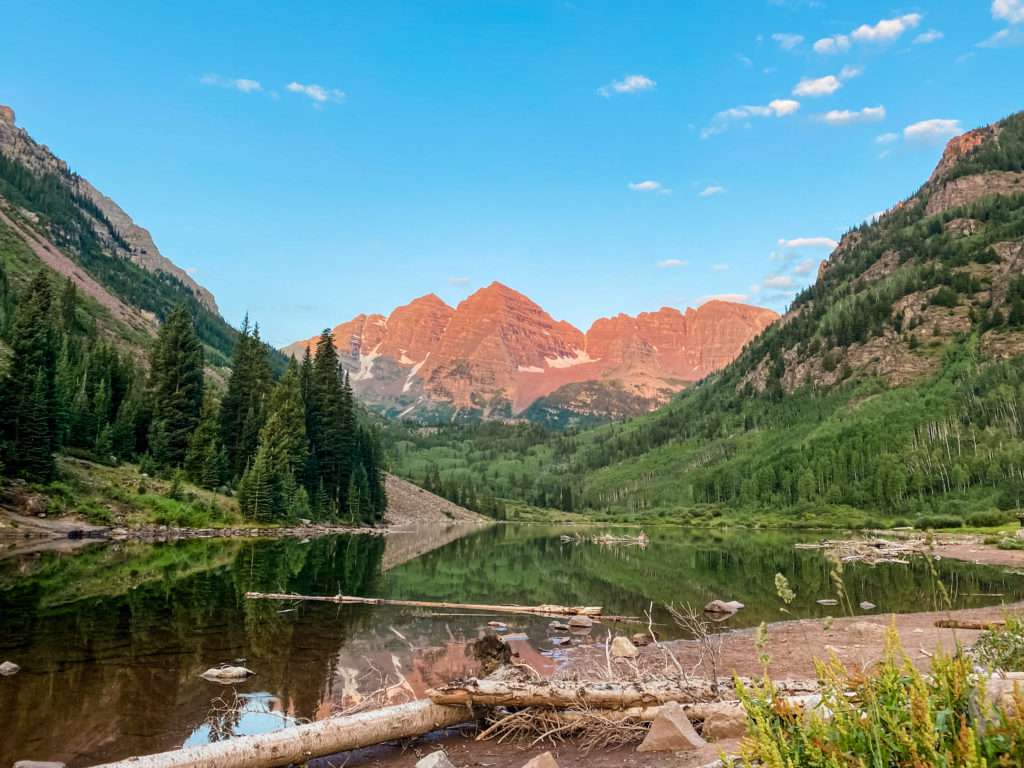
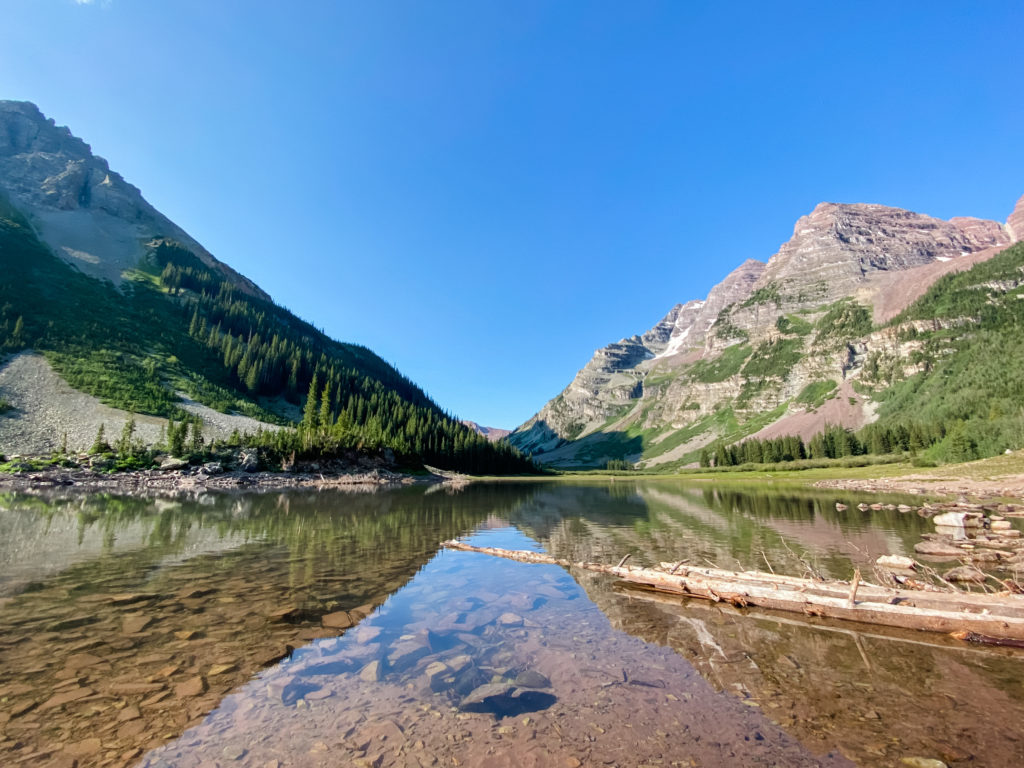
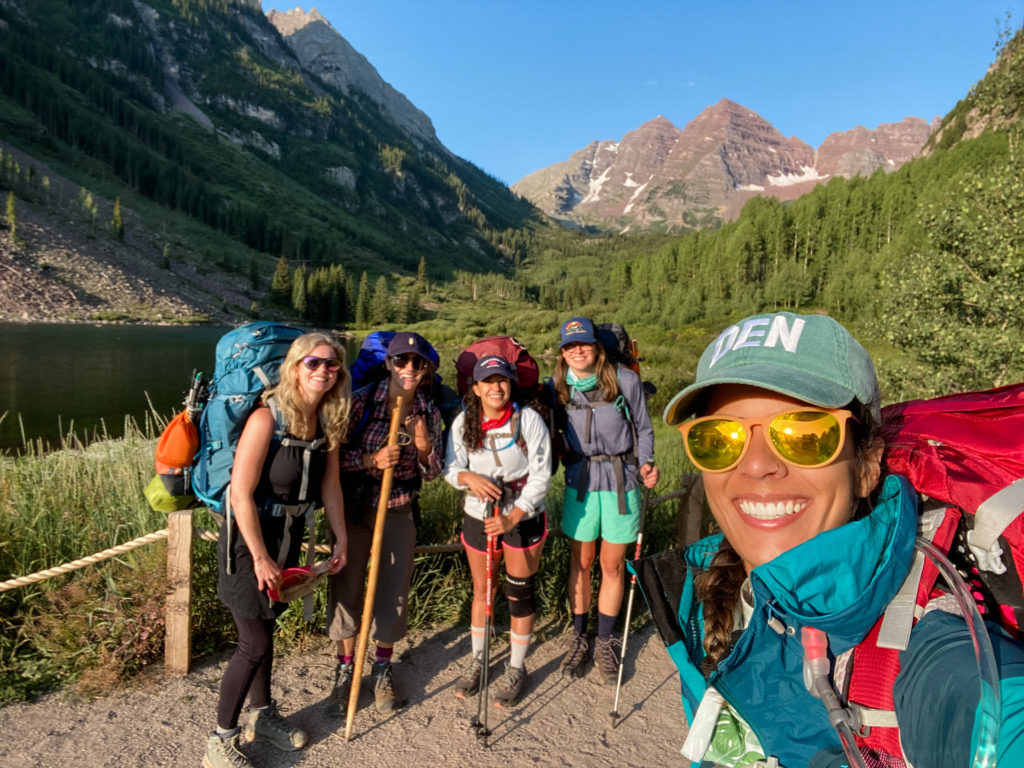
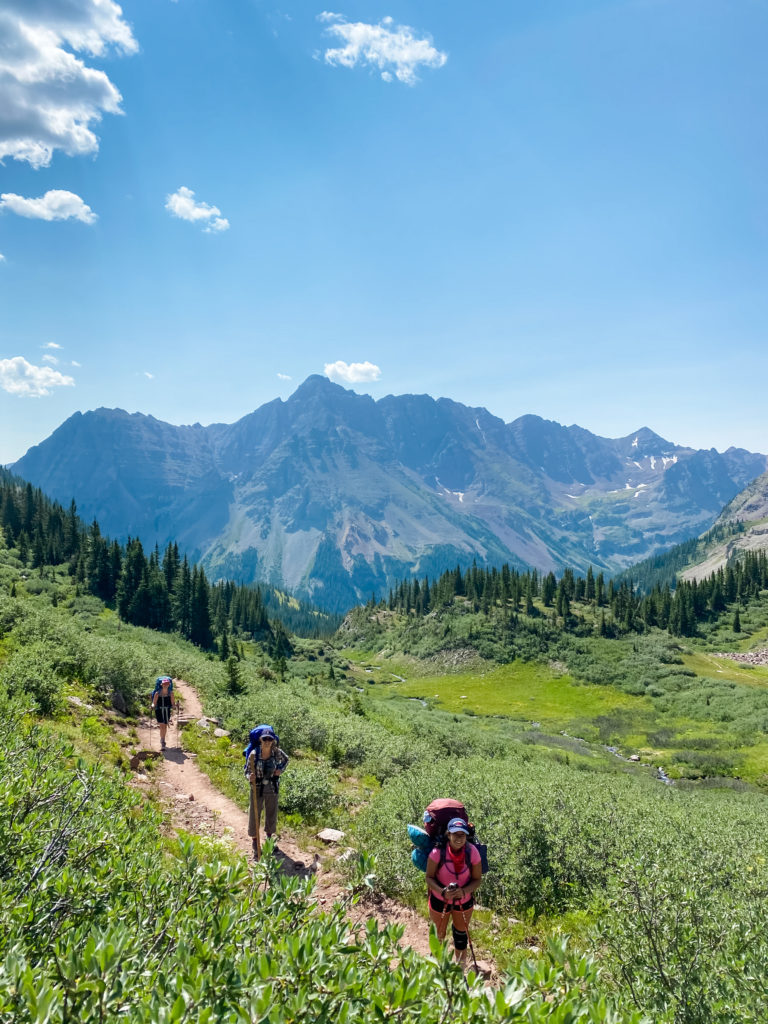
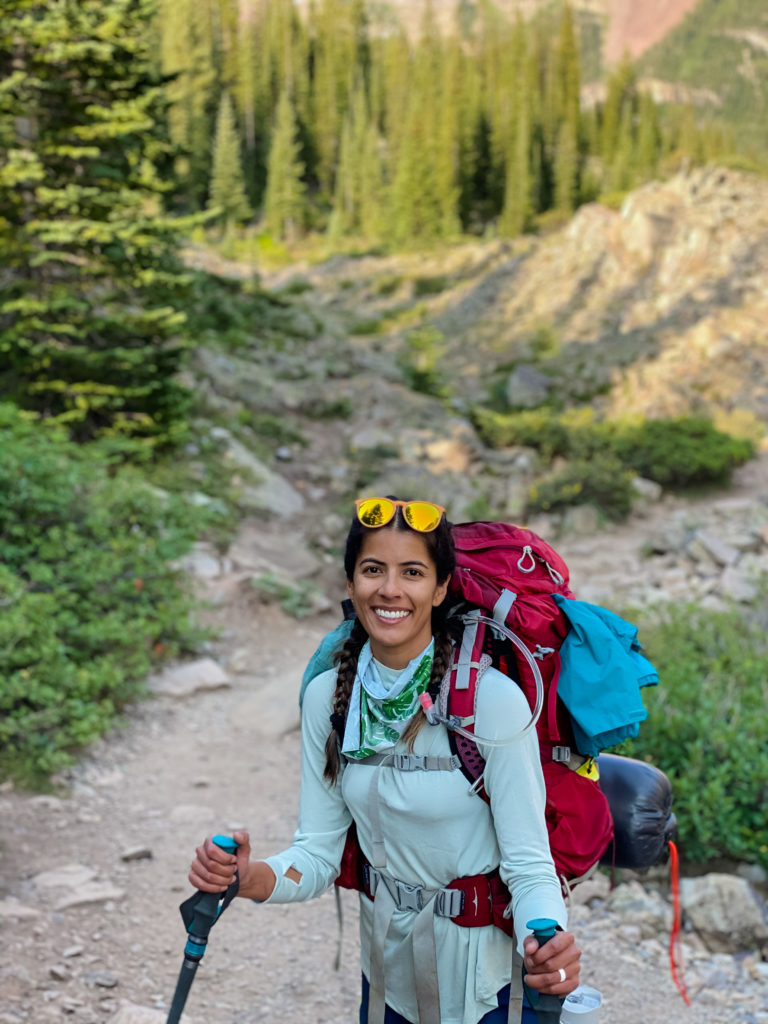
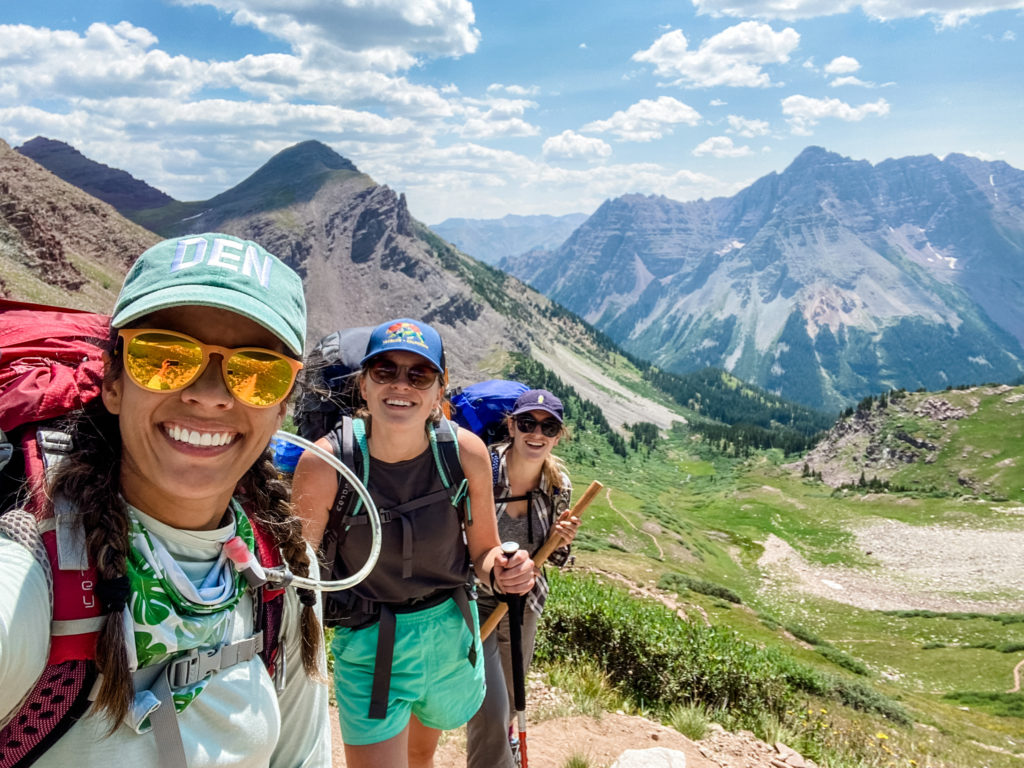
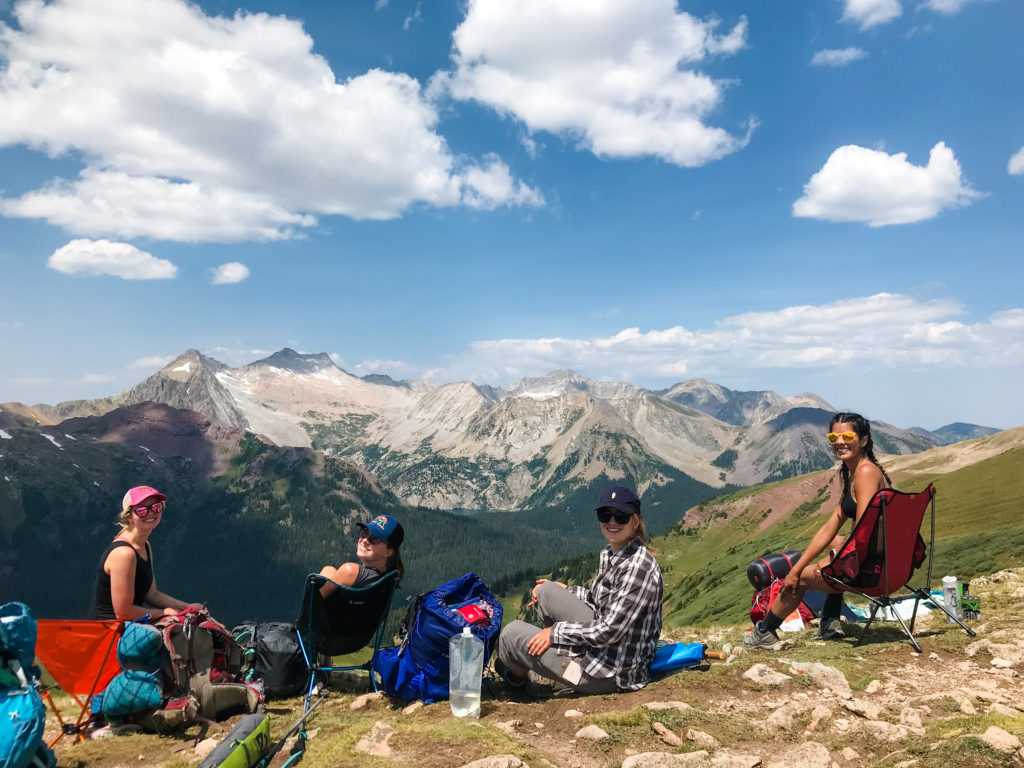
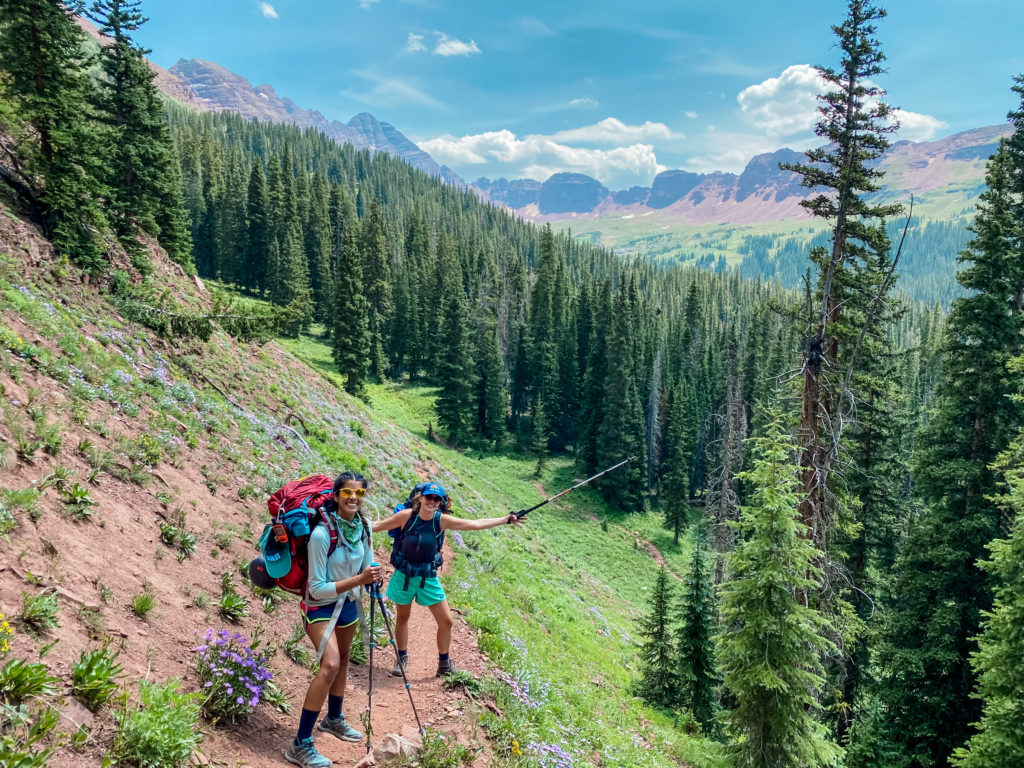
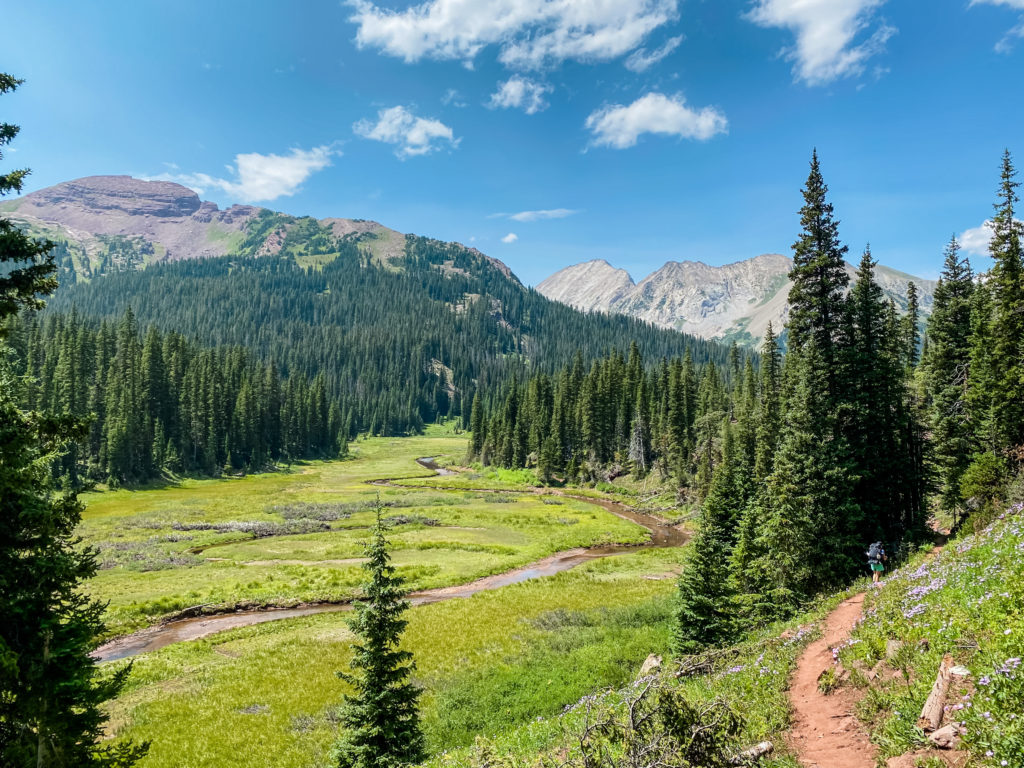
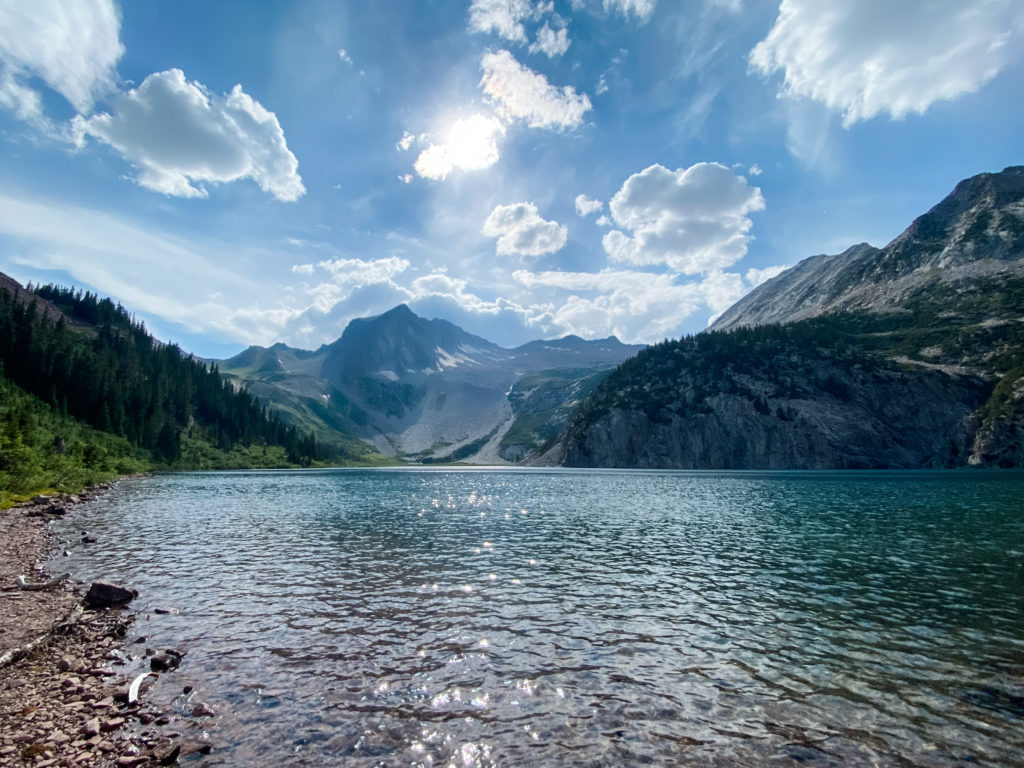
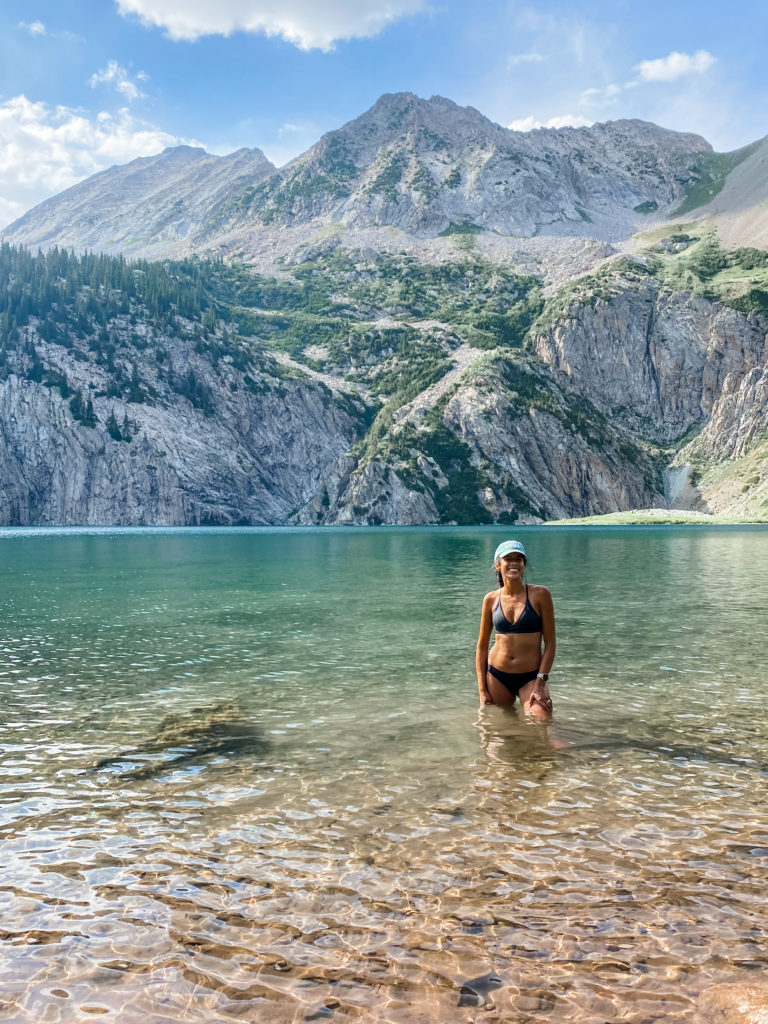
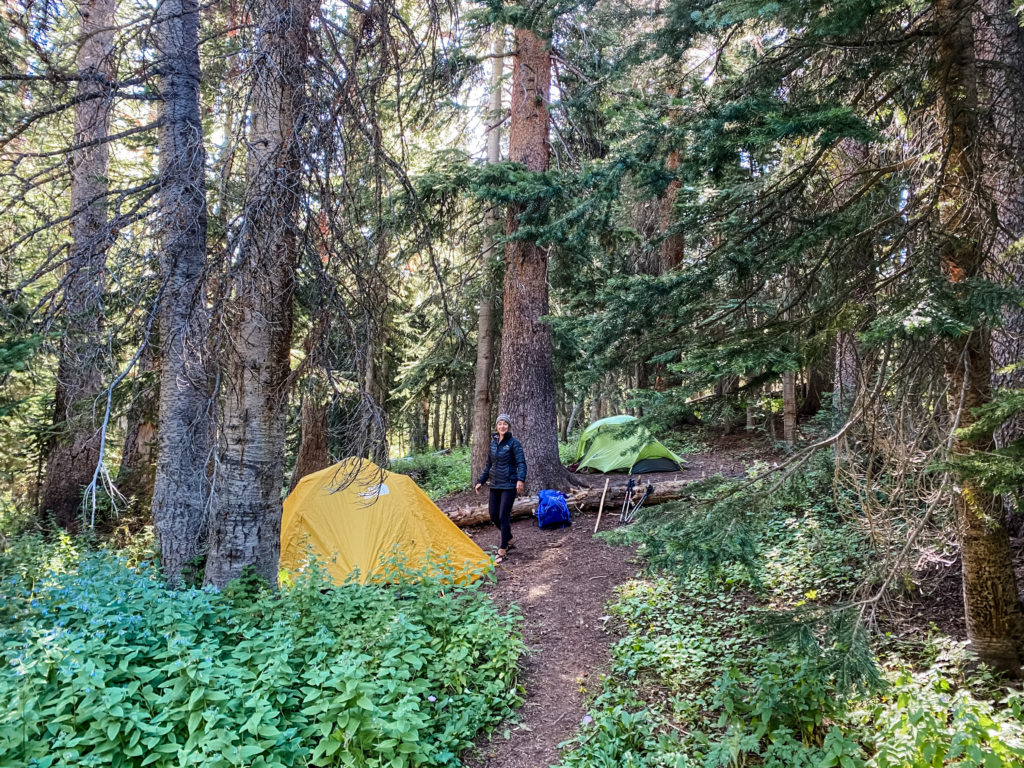
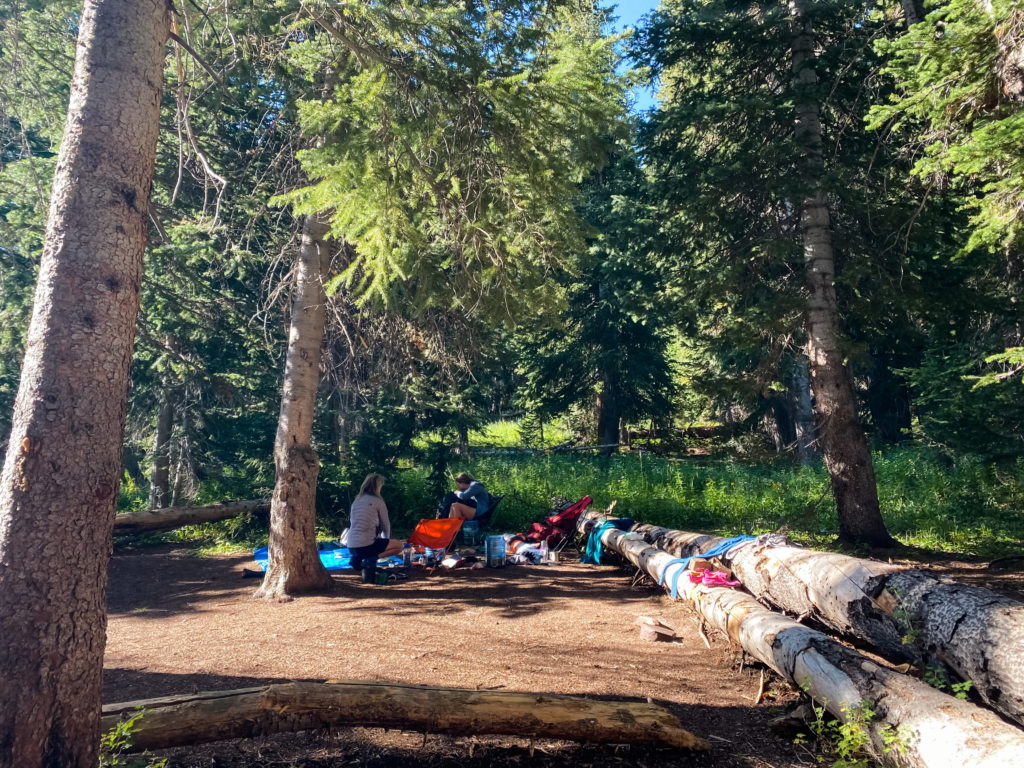
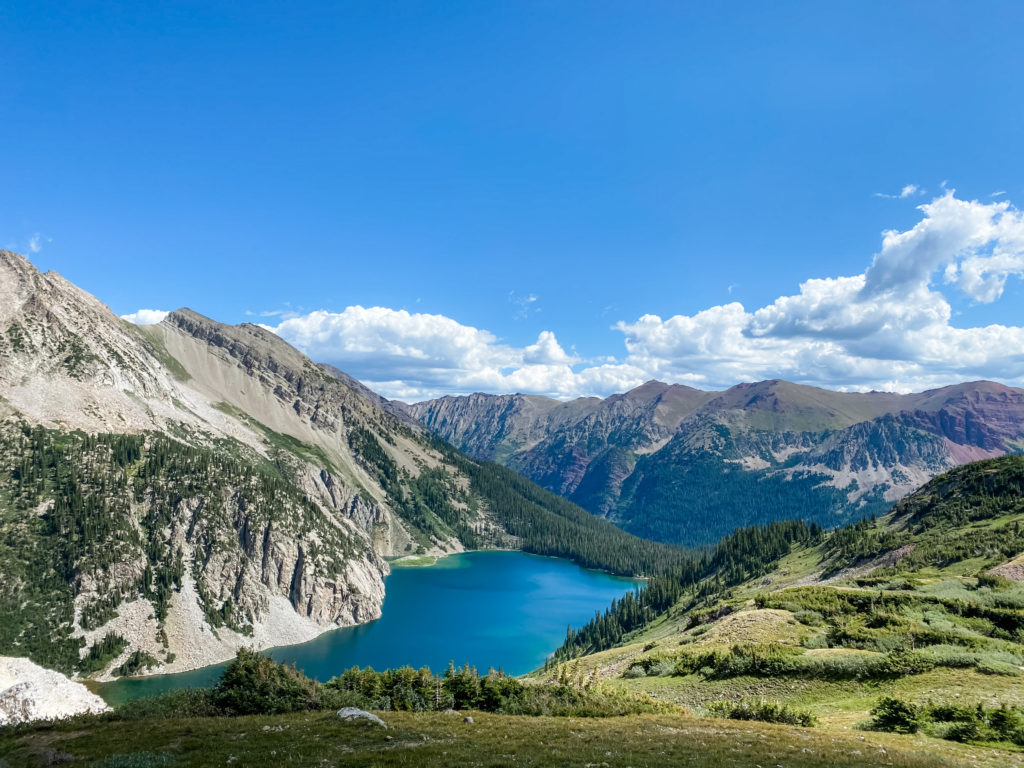
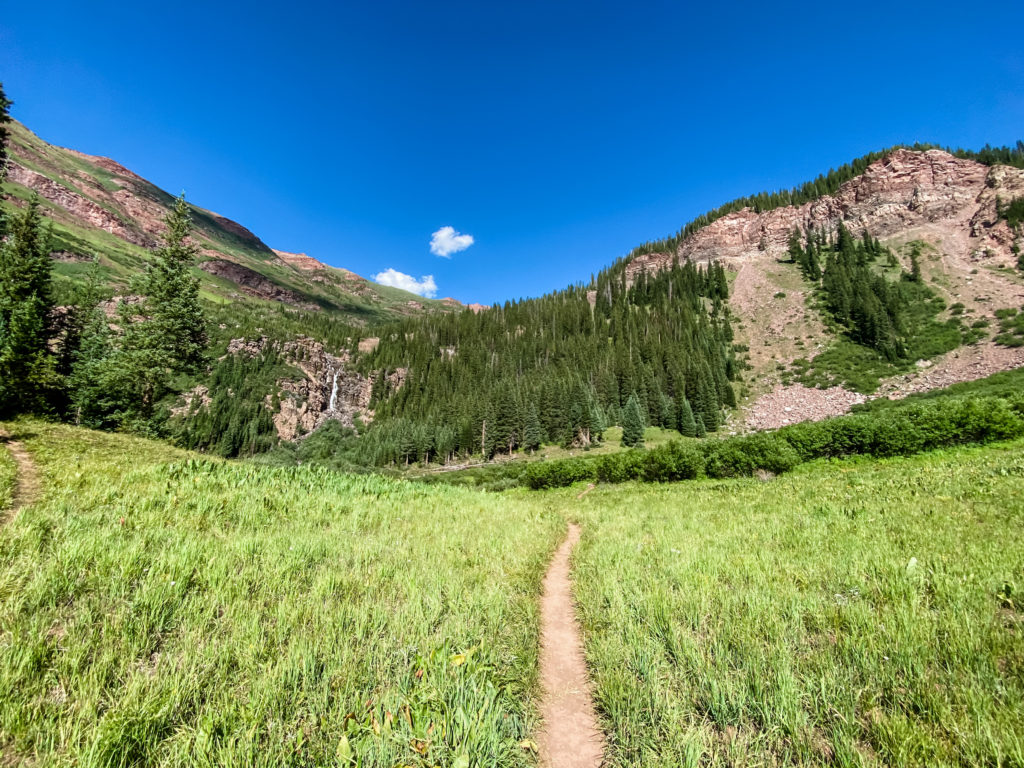
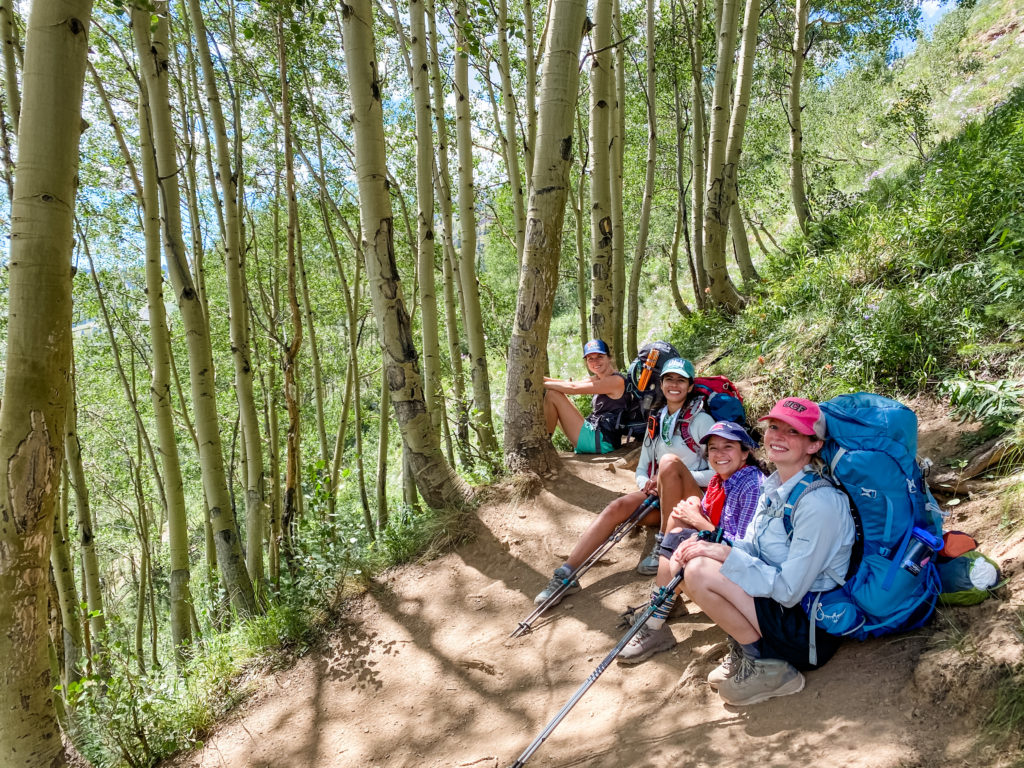
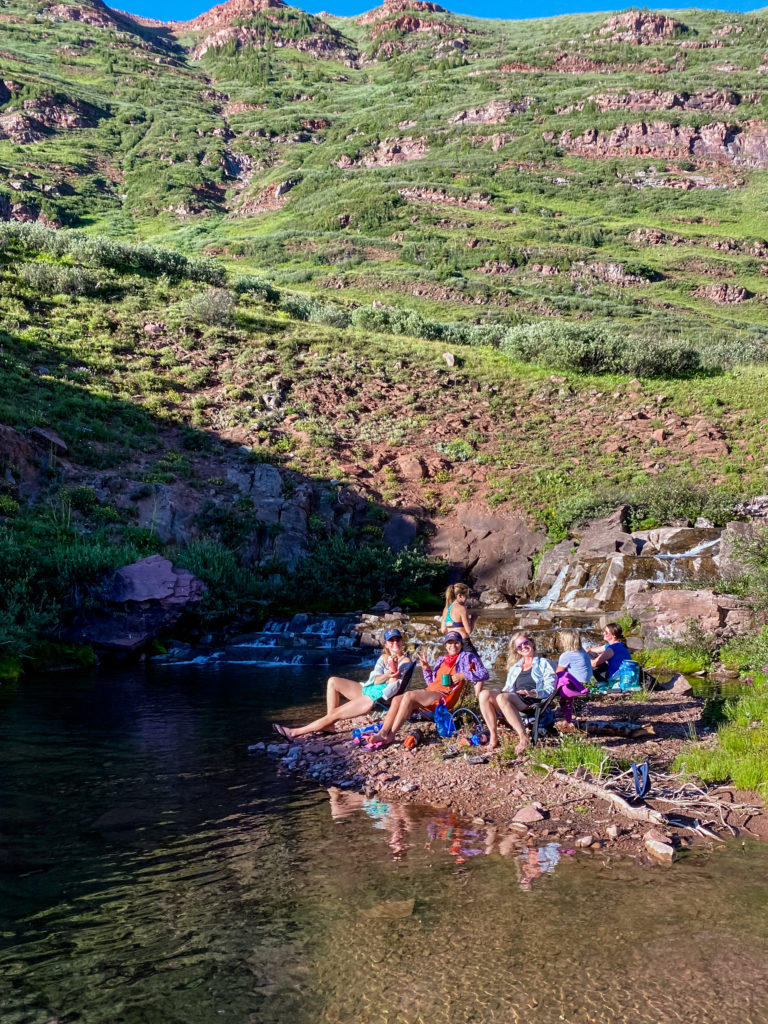
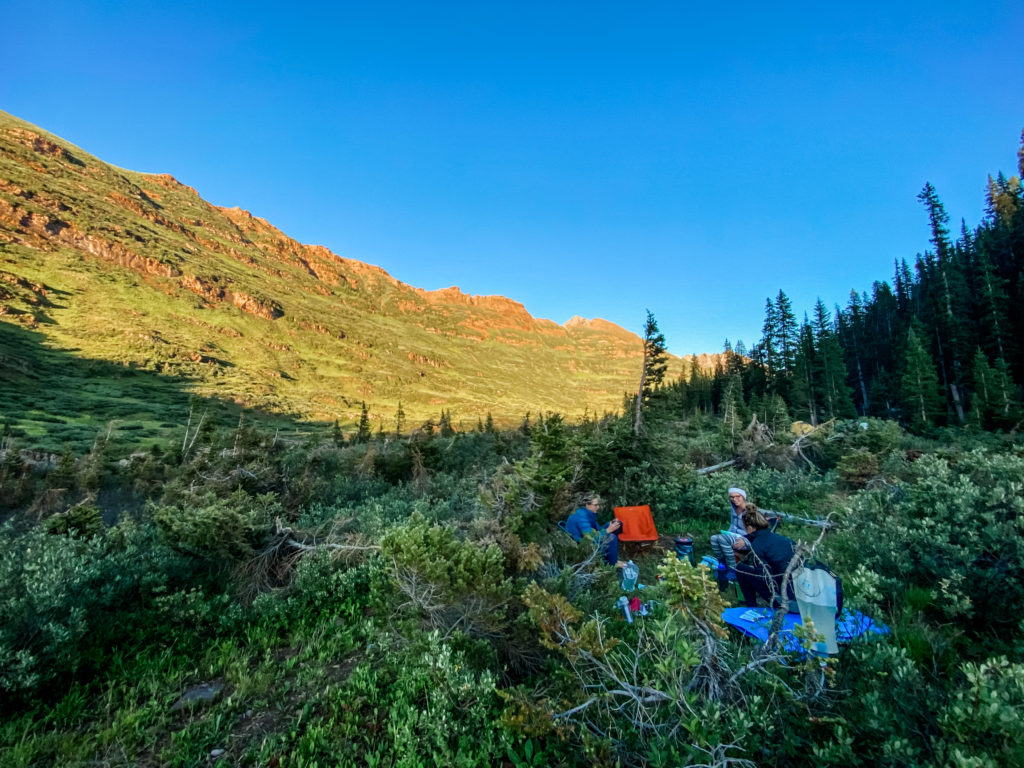
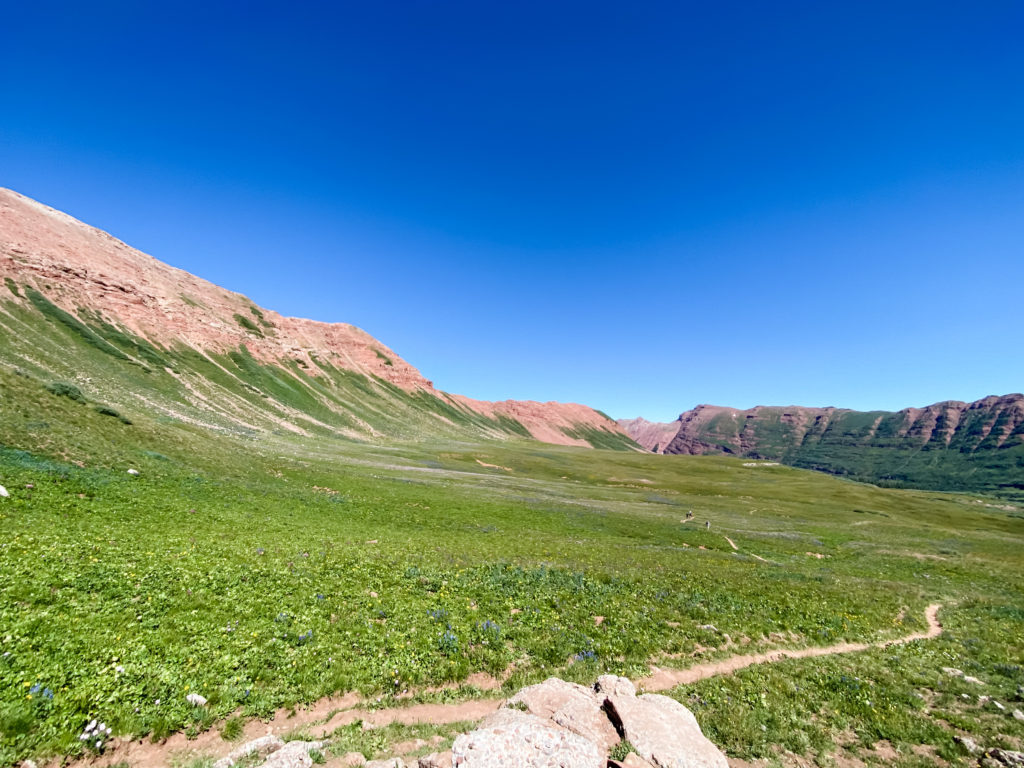
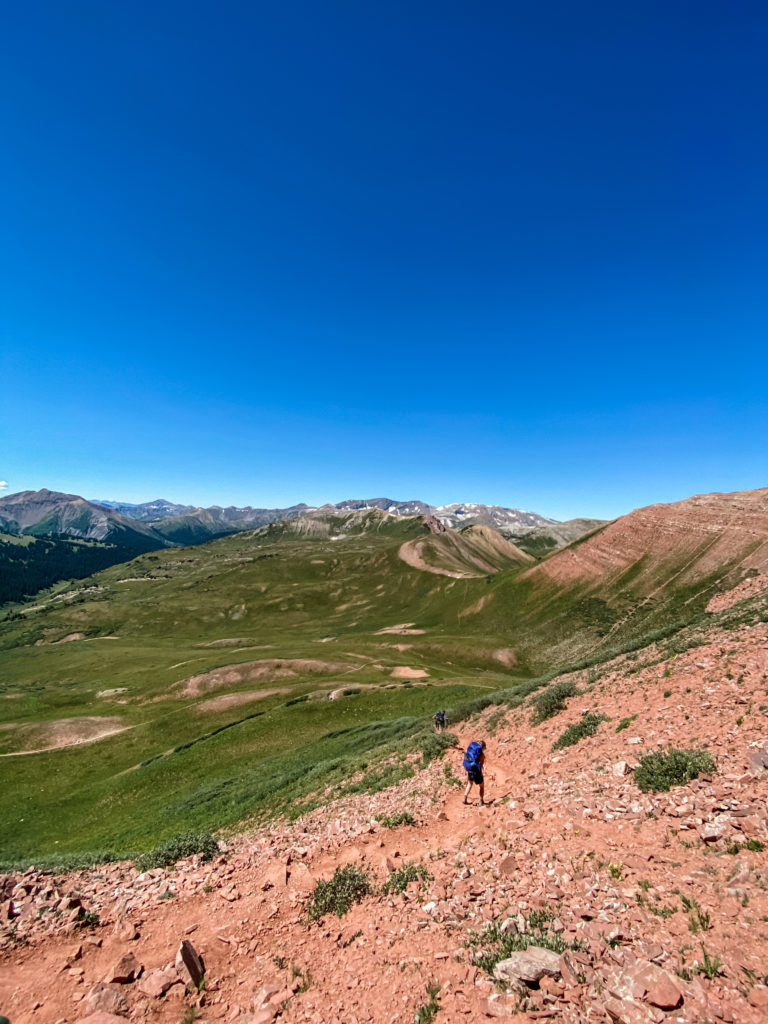
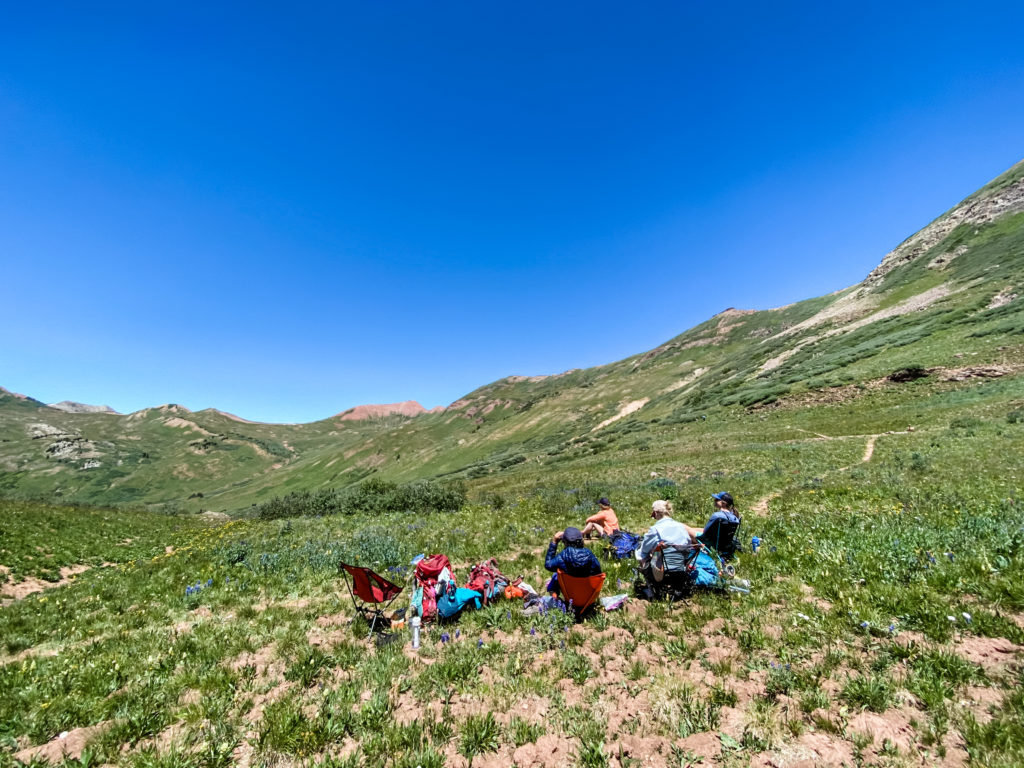
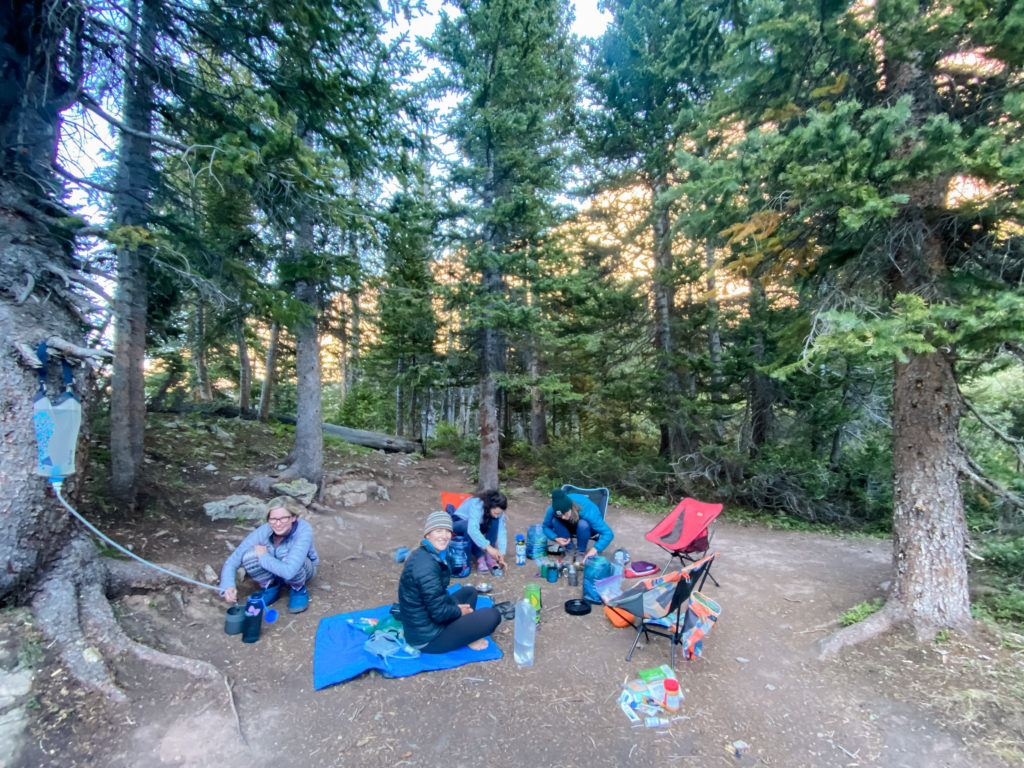
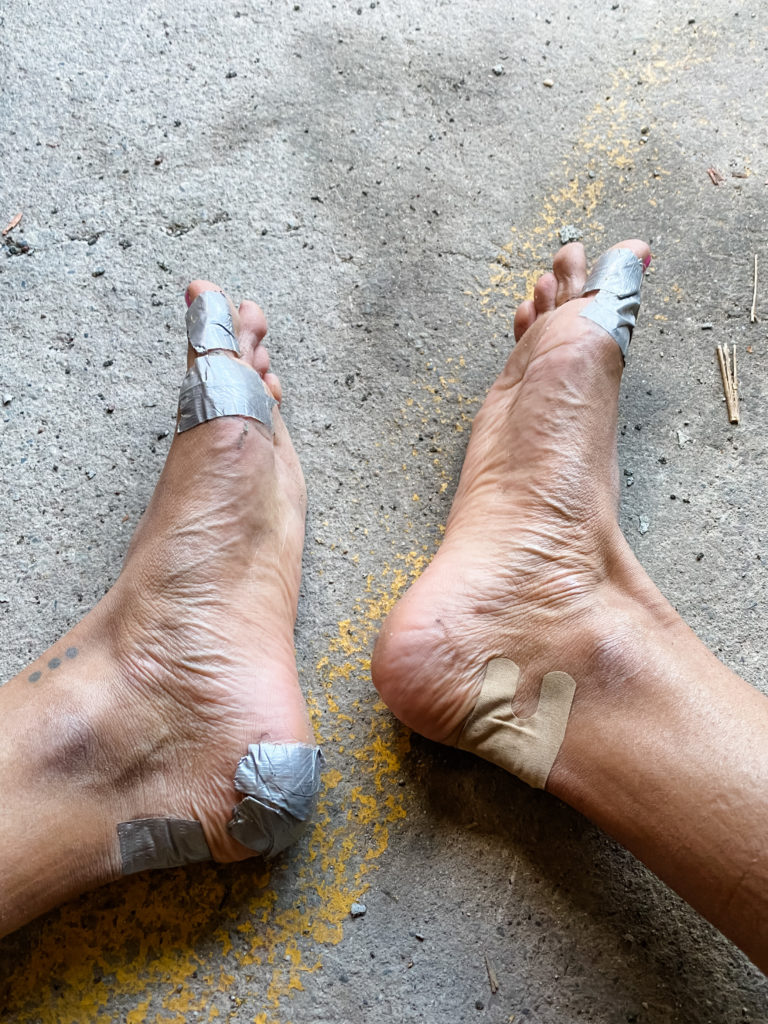
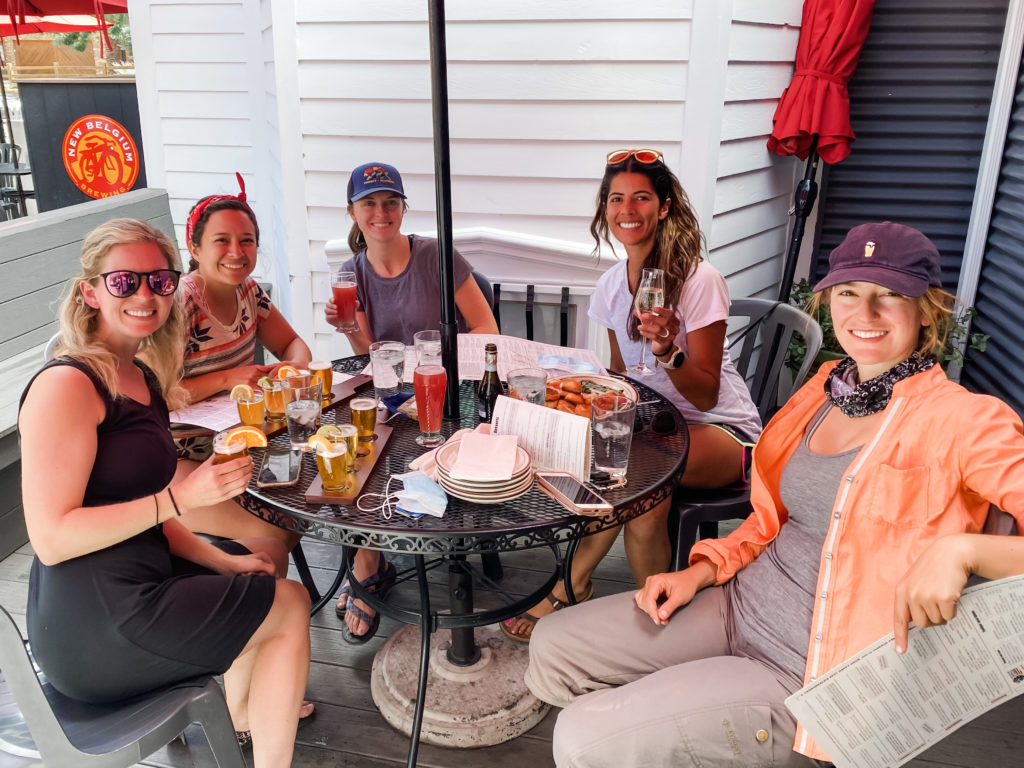
Photos
Last but not least, here are some of the photos captured along the way!
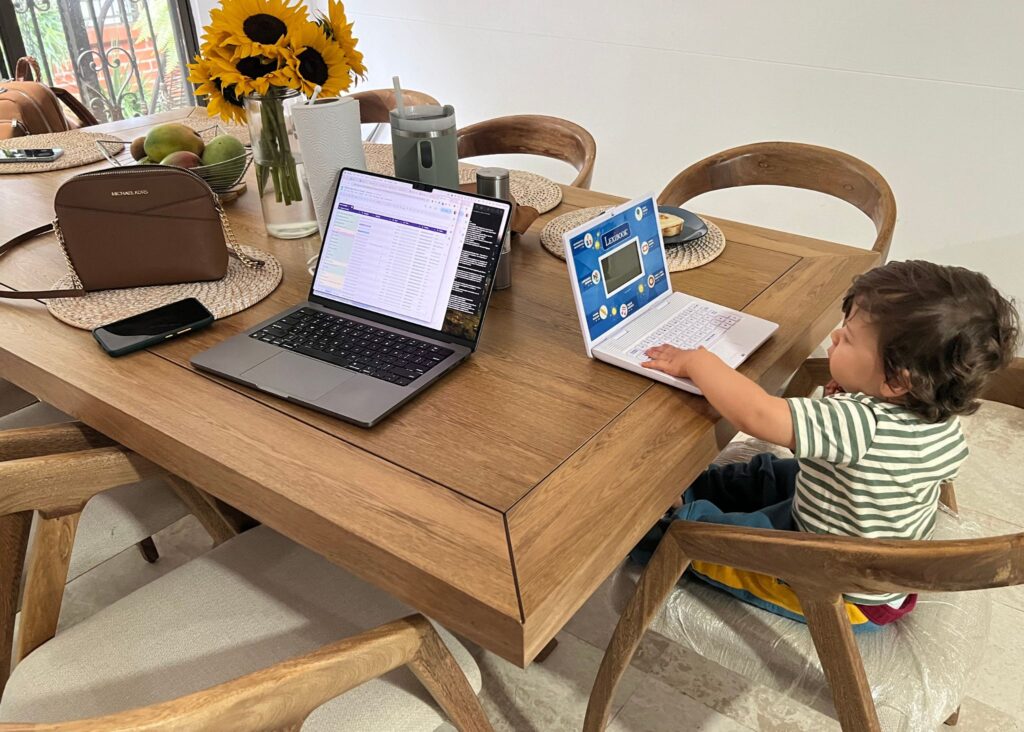
meet sarah
Welcome! I’m Sarah. I started this blog to be a resource for others around a few of my favorite things: living in Colombia, DIY projects, places traveled, and day-to-day life. My hope is that it can a place of inspiration and encouragement to help you plan the next project or adventure of your own!