This post may contain affiliate links. Read my full disclosure here.
While planning for our wedding last year, Pinterest suggestions would pop up around what to do with the wedding bouquet after the big day! With so much stuff to do for the actual wedding, I put preserving my florals on the back burner but I knew I wanted to do something because of two very special lockets on my bouquet. Inspired by a friend’s wedding, I wanted to be sure a few very important people were up there with us on our wedding day.
Neither of us got a chance to meet the other’s closest grandparents. I’ve loved hearing the sweetest stories of Bob & Iggy and I can’t tell you how many time I wish my Abuelita could’ve met Colin. He really missed out on the death-gripped cheek pinches she gave so endearingly. I asked my cousin and mother-in-law to help find photos to fit these lockets and then dropped them of at the florist so they could be included on my bouquet. While they’re always in our hearts, it was really special having them up there with us too.
After we said “I do!” I did what was easiest for me at the time and hung my bouquet upside down to air dry in the darkest closet we had in the house. Here’s the blog post I referenced with six other ways you can do it too!
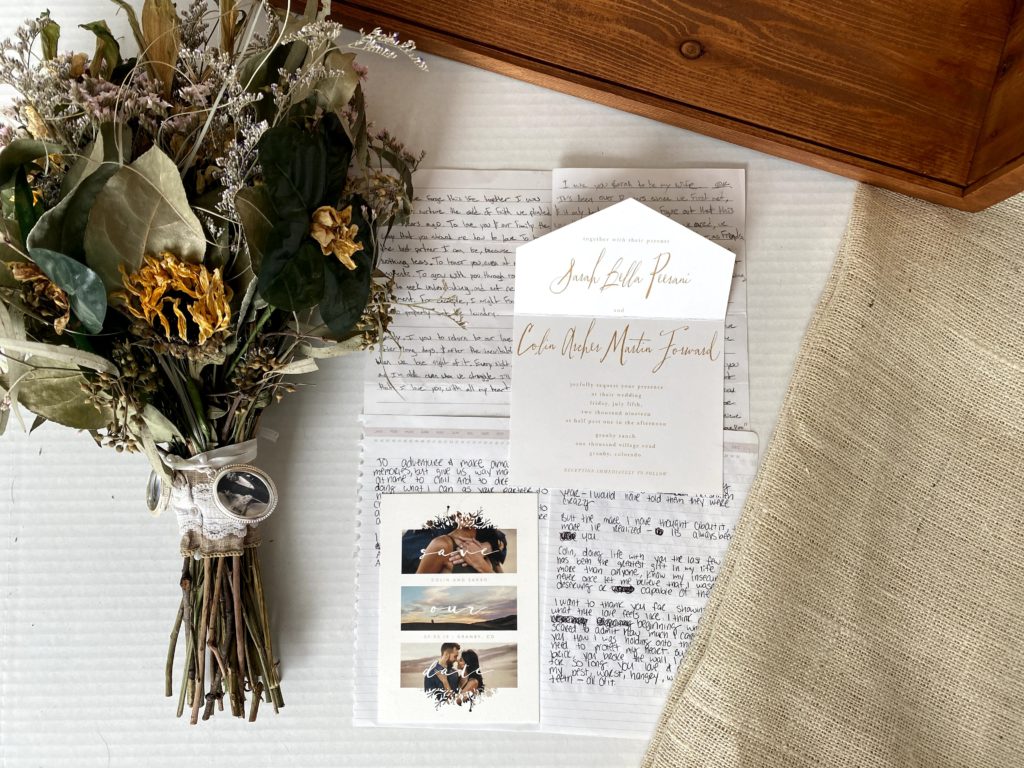
I saved other keepsakes like wedding invitations, save-the-dates, thank you’s, and our handwritten vows. Partially because I thought I might use them for the album and partially because I might be turning into a hoarder. TBD.
It wasn’t until COVID stay-at-home orders were in place almost seven months after the wedding when I finally felt inspired to re-home my wedding bouquet! I’d searched all over the internet for shadow box inspiration but never quite found exactly what I wanted. So I decided to try some things out on my own and I’m pretty happy with how it turned out.
Here’s what I did and used so you can preserve your special bouquet too! If you need some extra help, you can check out the “Shadow Box” highlight on my Instagram for some visual explanations.
Before purchasing anything I grabbed everything I wanted to put in the display. I tried a few different layouts before settling on the one pictured above. After, I used a couple of pieces of cardboard to help me measure out the width, height, and depth I needed for the interior space.My final dimensions were 20″ wide x 24″ tall x 5″ deep.
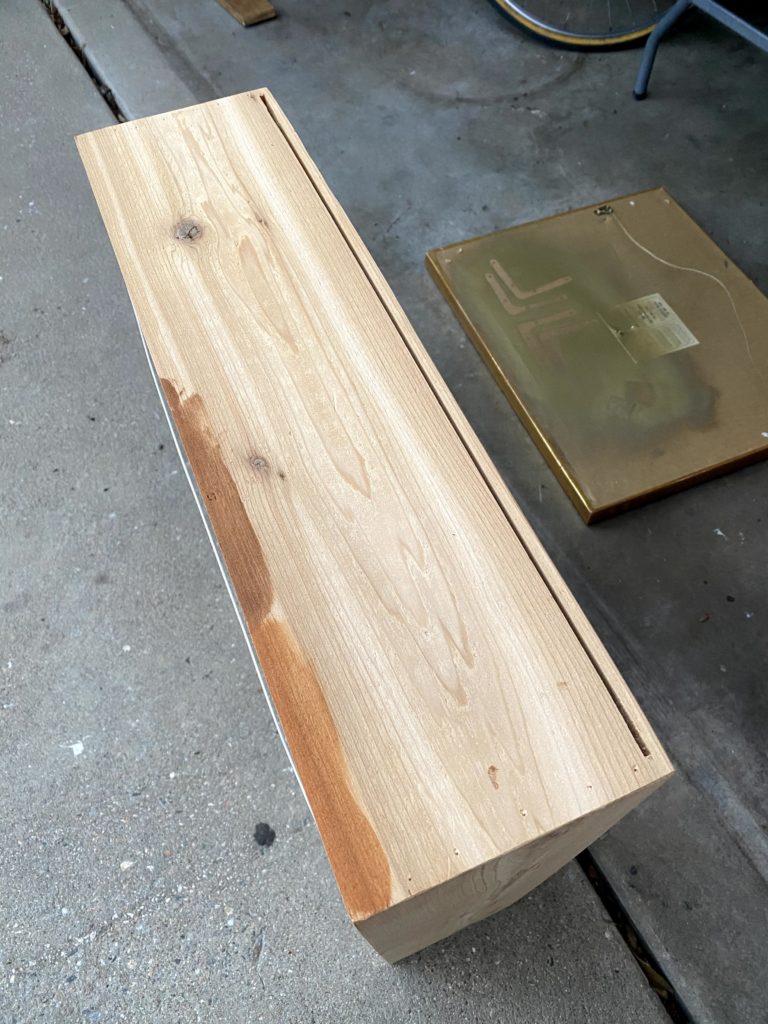
I had the thought to try and build the box on my own, but ultimately went with paying for an unfinished, custom box from Etsy. I sent the dimensions to a shop to get a quote and after researching other options, it was the most cost efficient option for me. The vendor lives in Colorado too, so shipping & handling wasn’t nearly as expensive as some of the alternatives.
If you go with the same vendor, you get to choose between plexiglass or glass. Although glass is cheaper, I went plexiglass because it’s stronger and more shatter-resistant. He can also finish it for you but there are select colors to choose from and it costs extra.
I’m sure there are plenty of fabrics to use for the background, but I had a rustic-themed wedding so I went with burlap. I found another Etsy shop where I purchased burlap by the yard in the “oyster” color. It was a little more than I needed, but I preferred it that way so I had extra if I messed something up. Which I did!
Stain & seal
Skip this part if your shadow box is already finished!
I was deciding between two stains: Miniwax’s Cherrywood (the darker brown on the top in the left photo) or the Antique Maple below it. After testing out small strips along the back edge of the top of the box where people would be less likely to see it when hanging, the winner was Cherrywood!
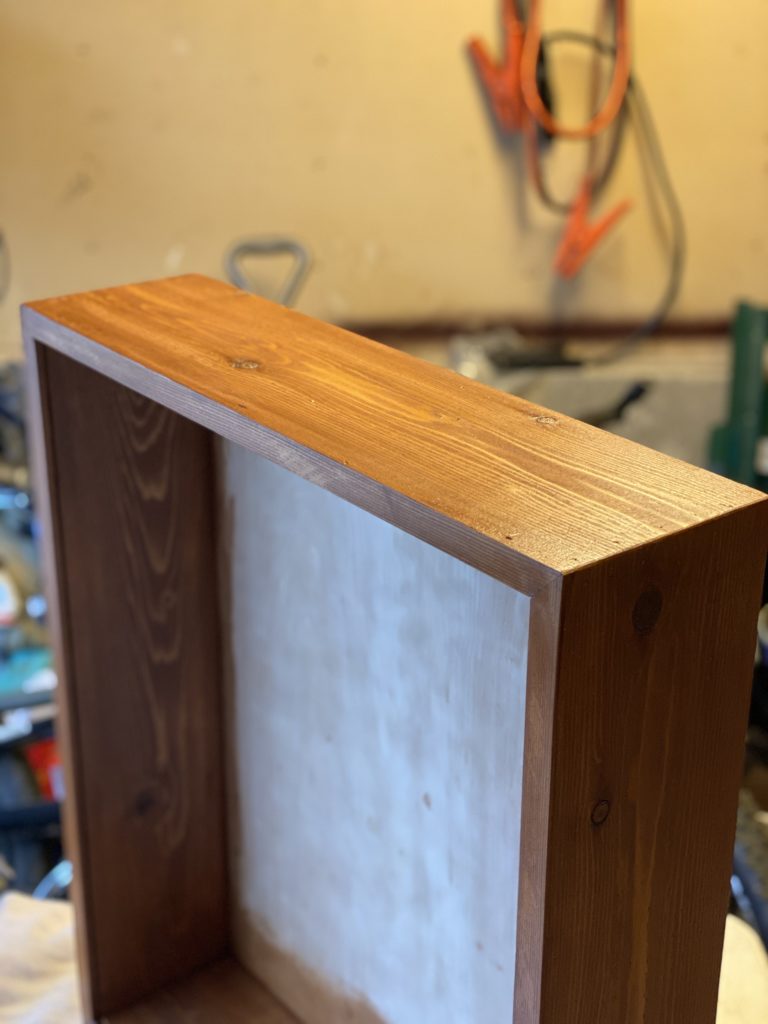
To apply the stain, first stir what’s settled on the bottom of the can. Never shake. When you shake it, you’ll get unwanted bubbles on your project. I used an old cotton t-shirt to apply along the edges of the box. Be sure to go with the grain, and only go in one direction – not back and forth strokes.
I didn’t want the stain to be too dark, so I didn’t let it sit as long before wiping off the excess. Let it dry for a couple of hours before going over it with a very light sanding job using the 220-grit sand paper. After, wipe it down with tack cloth to help get dust and debris off and do as many coats as you need to get the look you want. I only did two and let it dry overnight.
For the sealer, I went with Miniwax’s Clear Satin Polyurethane. Using a 2″ paint brush, go over the stain using the same go-with-the-grain technique. I did two coats of the sealer and also sanded between coats with the 220-grit.
Make your stuff last and clean up! For oil-based stains, you’ll use mineral spirits. I didn’t use gloves, for application or brush cleanup, and the stain was hard to get off and the mineral spirit chemicals left my hands super dry. I’d highly recommend using gloves when working with stains and cleanup. I do… now.
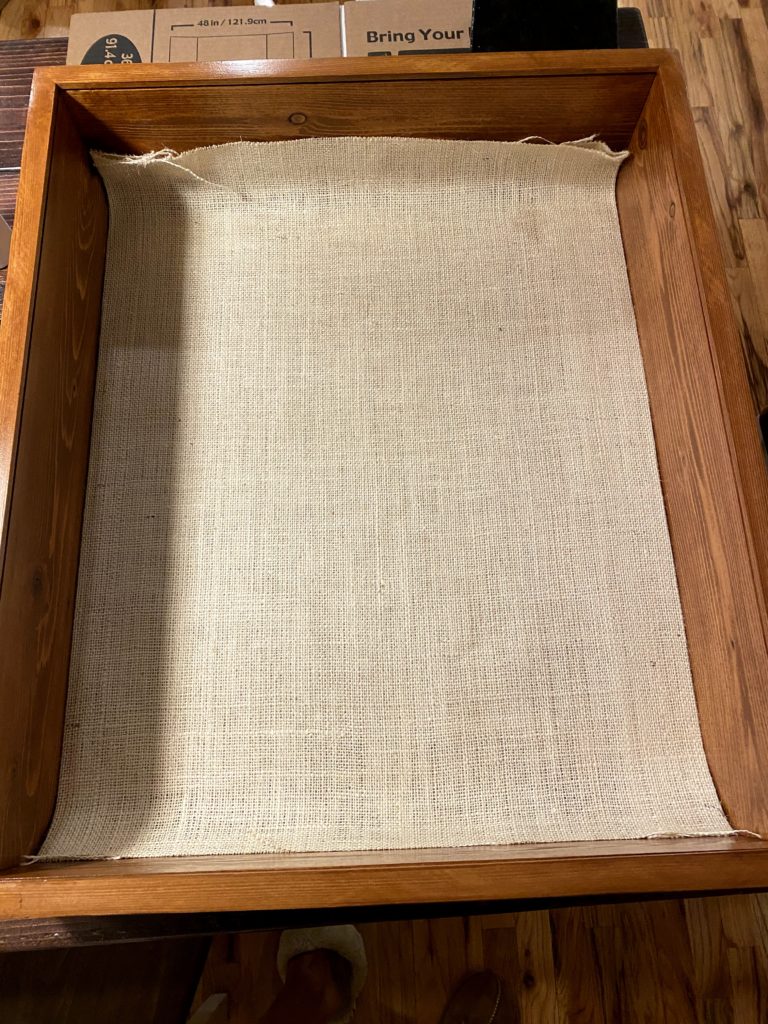
Apply the background fabric
First, iron out your fabric to ensure it’s smooth and flat. For burlap, I put my iron on the “linen” setting and put a t-shirt over the burlap before ironing out all the crinkles.
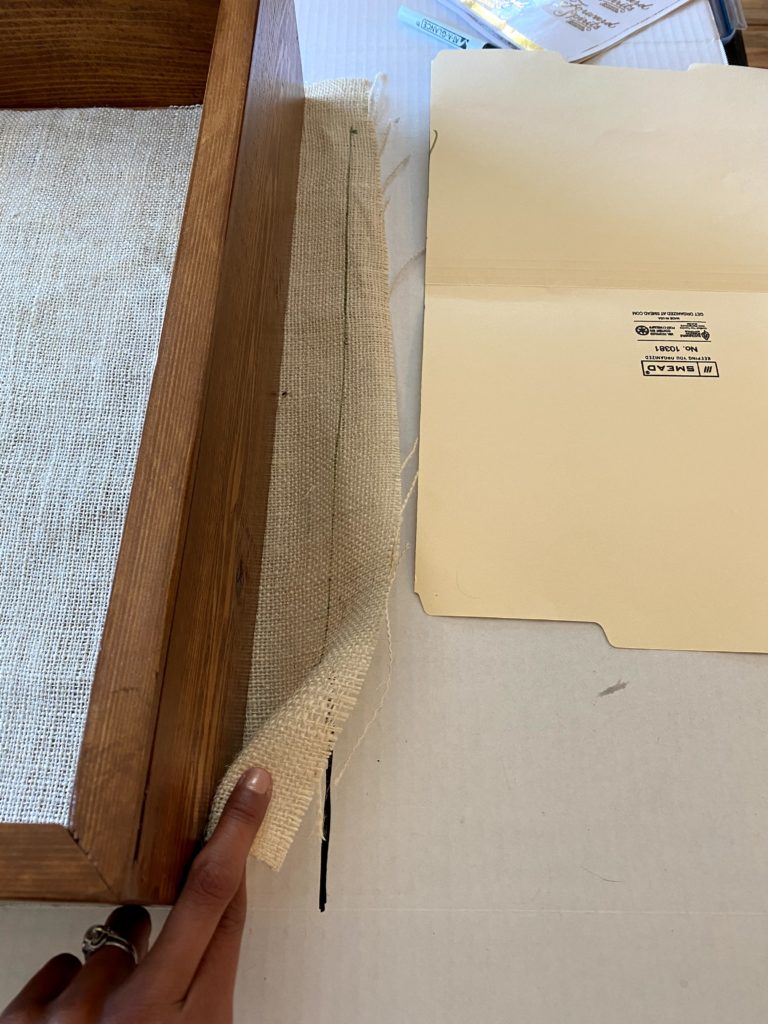
On my first attempt, I tried cutting to the interior dimensions. Burlap can snag and stretch so this ended up looking terrible. If you’re working with burlap, I recommend cutting to the width and height of the exterior dimensions like I did in the image on the left.
You’ll then fold over to create your edges. Using pin needles, I’d pin along the edge as close to the side of the box as possible to hold my line one side at a time. I’d pin, iron that edge flat, remove the pins and move on to the next side.
Once all four sides are done, you’re ready to glue! There was probably about an 1″ of overlapped burlap along the edges which helped the hot glue not seep through the fabric so quickly. Don’t be stingy with the glue either! Depending on the weight of your items, you’ll want it secured well.
Add the keepsakes
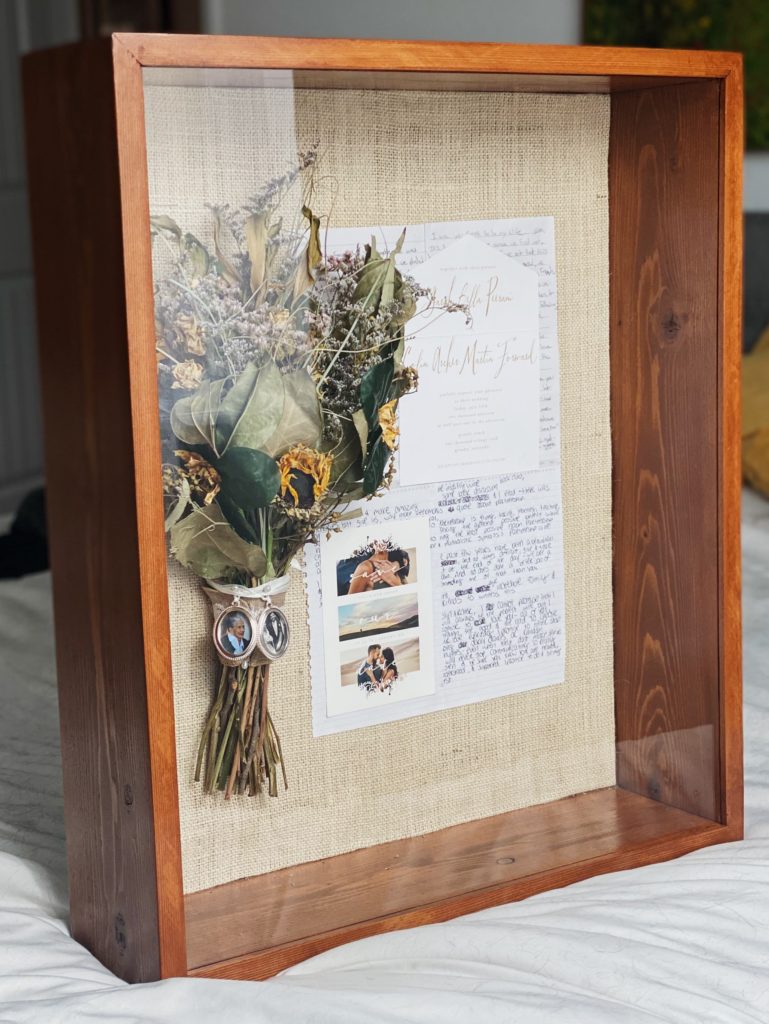
Now you’re ready to decorate the main display! Simply reference the layout you did at the very beginning and hot glue your items to the fabric.
My bouquet had a little too much volume when I did a test run to see how much of it would be pressed up against the plexiglass so I cut some of the weight out from the back. I’m glad I saved some of the pieces because I ended up adding them back into the display later. To secure the bouquet onto the fabric, I hot glued the fabric around the stems to the burlap background and pinned it on there too.
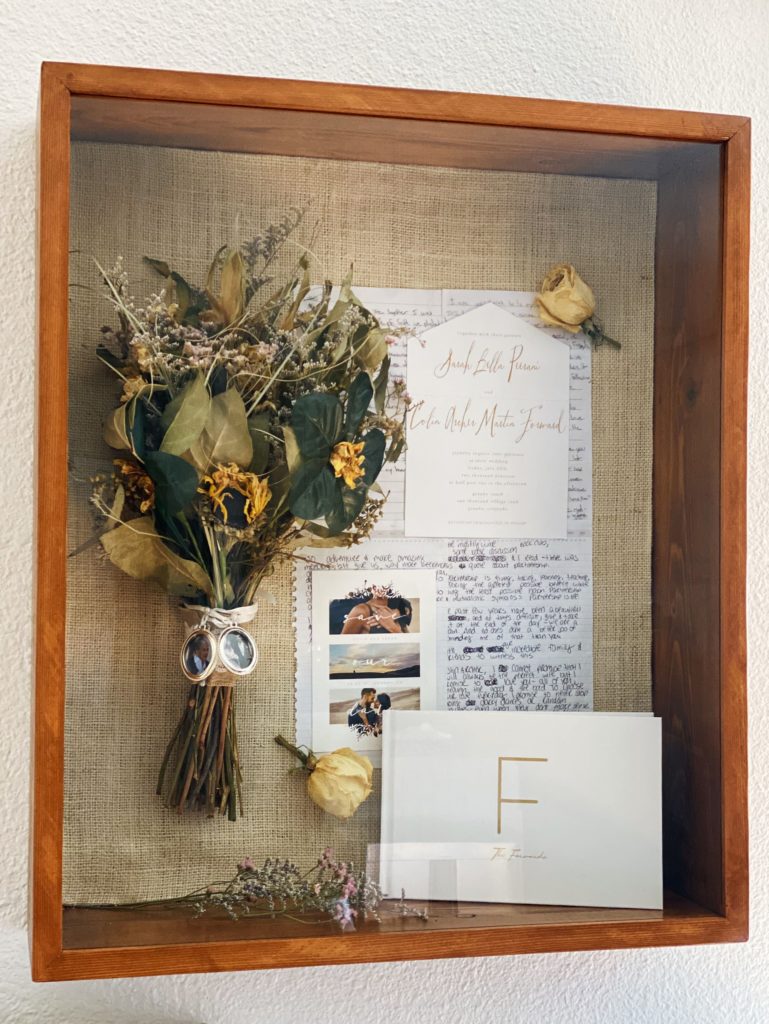
On the left is the first finished product and the right are some things that I added a few weeks after, like the florals and our wedding guestbook. The plexiglass is easy to clean and a breeze to take on or off should people want to flip through our guestbook. I really love it there and so happy to have these memories all in one place!
meet sarah
Welcome! I’m Sarah. I started this blog to be a resource for others around a few of my favorite things: living in Colombia, DIY projects, places traveled, and day-to-day life. My hope is that it can a place of inspiration and encouragement to help you plan the next project or adventure of your own!