This posts may contain affiliate links. Read my full disclosure here
Coming from Florida, it took me some time getting acclimated to Colorado hiking. I didn’t know where to start. Here’s the first of a two part series to help get you started on getting out and exploring Colorado. We’ll cover:
There are a few key terms that you’ll come across in conversations, online forums, and even throughout these blog posts. A few words to familiarize yourself with are:
13er (thirteener) or 14er (fourteener): A mountain with a summit elevation of at least 13,000 or 14,000 feet. For example, Mount Evens is a 14er with a summit elevation of 14,265 feet. There are 96 fourteener’s in the United States — Colorado is home to 58 of them. There are 637 thirteneers in Colorado.
4×4: A four-wheel-drive vehicle that can access power to all four wheels. This is really helpful when you’re going through different terrains like snow, ice, mud, and sand. You’ll see “4×4 Roads” which means you need that kind of vehicle to safely drive through.
Alpine: Usually starting at an altitude of 10,000 ft or higher – this references where the snow line of a mountain begins.
Altitude sickness: Getting sick from adjusting to lower oxygen levels at higher altitudes. Symptoms can be headaches, shortness of breath, and/or nausea. It’s important to listen to your body. Everyone adjusts differently. One easy way to help is staying very, very hydrated.
Class #: A rating system for how difficult a hike will be. You’ll find these most often listed with 13ers & 14ers. Class 1 is the lowest-risk hike and usually a well-marked trail. Class 6 is the hardest, technical hike and is basically rock climbing. You’ll need gear, knowledge, and experience to safely hike a Class 6.
Elevation: How many feet above sea level you are from any location. For example, Denver is 5,280 ft above sea level so it’s at an elevation of 5,280 ft as well. It’s important to check the elevation at the start of a trail especially while you’re getting adjusted to the altitude. You can get to hikes that start at 8,000+ feet in a quick 45-minute drive from Denver.
Elevation gain: The total amount you hike in a day. This is NOT just simply subtracting the highest elevation from the lowest elevation, but the sum of total gain throughout the hike. So let’s say you hike 500 ft, go down 250 ft, and then back up, 500 ft. The elevation gain is 750ft. This is really helpful when figuring out how difficult a hike is going to be.
LNT: Leave No Trace – Center for Outdoor Ethics is and organization that “protects the outdoors by teaching and inspiring people to enjoy it responsibly. The Center accomplishes this mission by delivering cutting-edge education and research to millions of people every year.” There are 7 Principles every hiker should know.
OHV: “Off-highway vehicle” meaning a car that is more extreme than a 4×4 and is designed specifically for off-road use. Think big tires, suspensions, skid plates to protect the engine. This car will get you to places basic cars can’t.
Switchback: When you’re hiking up somewhere steep, you might go in a zig-zag pattern instead of straight up. This is a switchback. It helps make it easier to get up hills and also protects the trail from erosion.
Trailhead: The very beginning of where the trail starts. What it looks like can vary. Some are very clearly marked with all sorts of signs and big parking lots or a little less obvious with a smaller signage. Trail descriptions and user reviews on AllTrails have made it helpful for me to make sure I know what to expect when I arrive.
Finding hikes
My go-to app to find hikes is AllTrails. Both the web and mobile app are great and user-friendly and it works for trails all over the world. I’ve tried in several different states and even found trail suggestions in Colombia! Not getting paid to say it. I just really love this app.
You can favorite trails you want to hike and organize them into lists. I use this when planning ahead for camping trips. Once we know the general area we’re staying in, I’ll scope out the trails in the area and save them to revisit once we’re actually there.
When looking at a specific trail, you get tons of information too. How long it is, how steep it can get or the elevation gains, the route type, a brief description, and the activities you can do on it. The description comes in handy sometimes because you’ll see updates like “Trailhead closed due..” and you’ll know not to go instead of driving all the way there only to not be able to hike it.
There are weather forecasts and trail ratings, but scroll down just below that to see recent reviews. I always read these before going. You’ll get the inside scoop of what it was like to hike there recently. I’ve read a lot about parking, the trail conditions like whether or not there was still snow or maybe it was muddy, but the most helpful has been a heads up about mountain lions. The hiker made the post earlier that week and made the smart decision to turn around and head back home. My friend and I were on extra alert though and I appreciated the heads up.
The free version is solid, but I took advantage of a discount they were running to purchase the paid version, AllTrails Pro. My absolute favorite feature is being able to download the trail maps. Even when you don’t have service, you can pull out your phone and reference the map to see if you’re going the right way. I actually purchased this after a friend and I went 2+ miles off trail before I realized we were walking down an old river bed – not a trail path.
Here are a couple of other apps you can use to see which works best for you!
I prefer Strava to keep track of my hikes and like that it shows my route, total mileage, elevation gains, and photos if I add them. I used to think Strava was just for cycling, but they’ve expanded and it can include everything from hiking to snowshoeing to rollerblading.
You can also record your hikes in AllTrails which is nice to have everything in one place.
Runkeeper is another option. I’m not super familiar with it but a friend expressed that she likes how the calorie counter was more accurate than other apps. To get the most accurate number, you need a heart rate monitor (either from your watch or a chest strap) which I know can be connected to the Strava app too.
What to bring
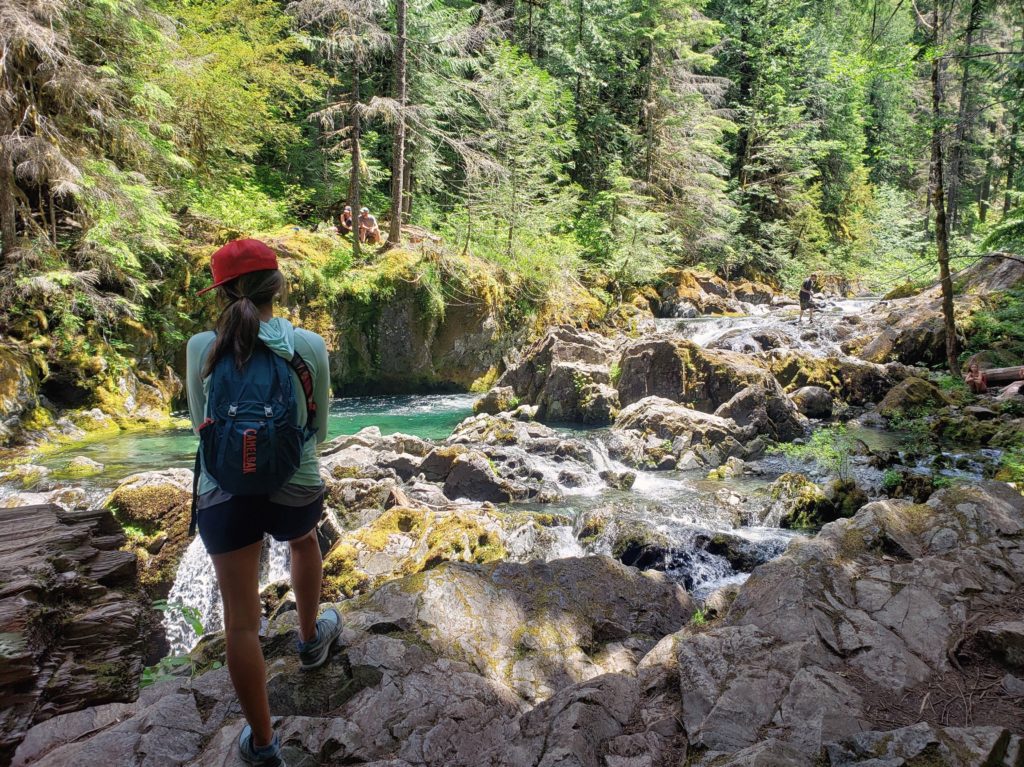
My trusty backpack keeps me hydrated and holds all my gear!
Moisture-wicking clothing items (meaning it quickly wicks your sweat to the outer surface and then dries super fast. Usually a wool or synthetic fabric. Cotton is the anti-moisture wicking fabric.)
Some friends! Don’t have any in Denver yet? Don’t worry, I have some suggestions on where to find them below.
This varies by hike and season. In the winter, I’ll add things like hand warmers and gloves. For longer hikes, I’ll make a sandwich and bring extra water.
More in Part II
Now you’ve got some basics of how to plan and prep for your next hike! In Part II we’ll dive a little deeper as to how to stay safe, where you can meet new people to hike with, and other helpful tips before you go!
MEET SARAH
Welcome! I’m Sarah. I started this blog to be a resource for others around a few of my favorite things: living in Denver, DIY projects, places traveled, and day-to-day life. My hope is that it can a place of inspiration and encouragement to help you plan the next project or adventure of your own!